A Good Bird: Why I Hope You Find a Chicken You Love as Much as I Love the Chicken I've Found
Recipes for Chicken, Fried and Braised, Plus an American Poultry Hall of Famer (!)
Issue #20 has gone to the birds: chicken. Read, cook, eat, enjoy, share, repeat. —Mitchell
Sometimes it’s easy to fool ourselves into believing that the quality of the ingredients we use makes little or no difference in the deliciousness of a finished dish. Sure, it depends which ingredients in which dish. But in general, as my great grandmother used to say, “You put in good, you get out good.” Which is not to say that you can’t make something delicious out of just about anything. Just that often times you can make it better without much additional effort.
I can use the example of pancakes, which I wrote about in Issue #9, to illustrate my point. My husband Nate loves pancakes. I make them all the time. A few years back I committed myself to paying the relatively exorbitant price for better, local and/or at least artisanal flour in order to support the nascent regional wheat industry. This was a conscious decision because I believe it’s not just the industrialization of our food system that has wreaked havoc on our planet and our personal health, but particularly the commodification of certain foods that is problematic. Sure, in some ways, a bag of flour is a bag of flour. Some of it is really cheap. But that cheap flour is the product of a system I believe we must change. So, I wanted to put my support behind local mills trying to introduce more regionalized varieties of wheat. I set my innate frugality aside and have sucked up the cost of better flour evermore.
The first time I made pancakes with all-purpose flour produced from local, freshly milled, heirloom wheat, Nate looked up from his plate to inquire why they were so delicious. They had a pronounced wheaty flavor, reminiscent of the aroma that rises from the pot of the best Italian pasta as it cooks. They were different, better. And Nate, who is certain to love any pancake, whether from a box or from scratch, noticed the difference immediately.
I’ve had a similar revelation recently about another sort of commodified ingredient, chicken. Since we have been renting this lakehouse on the shore of Cayuga Lake, I’ve been attending the formidable weekly Ithaca farmers market. There, a small stand with just a few coolers and a white board that lists which cuts of pork, beef, and chicken are available, caught my attention on my first visit. Near the chicken selection was scribbled “killed yesterday.” I got in the line, which was growing even before the market opened at 9 am. I purchased a whole bird and some leg-thigh pieces. That weekend, during two different meals, one for which I barbecued the thighs and the other for which I fried the legs, it was me who looked up from the plate to ask, “Isn’t this a particularly delicious chicken?” I’ve been back to that stall every week since. I still remark on its quality every time I eat it.
Located in Lansing, New York, a few miles up the road from the Ithaca farmers market, Just A Few Acres Farm has been in the family for seven generations, since their 45 acres were deeded as a Revolutionary War plot. The chickens are one of the Cornish Crosses, bred for meatiness and efficiency in the 1920s. While not particularly an old or pure breed, when pasture raised and freshly killed they produce a flavorful, juicy, meaty (but not too big) chicken that I find noteworthy.
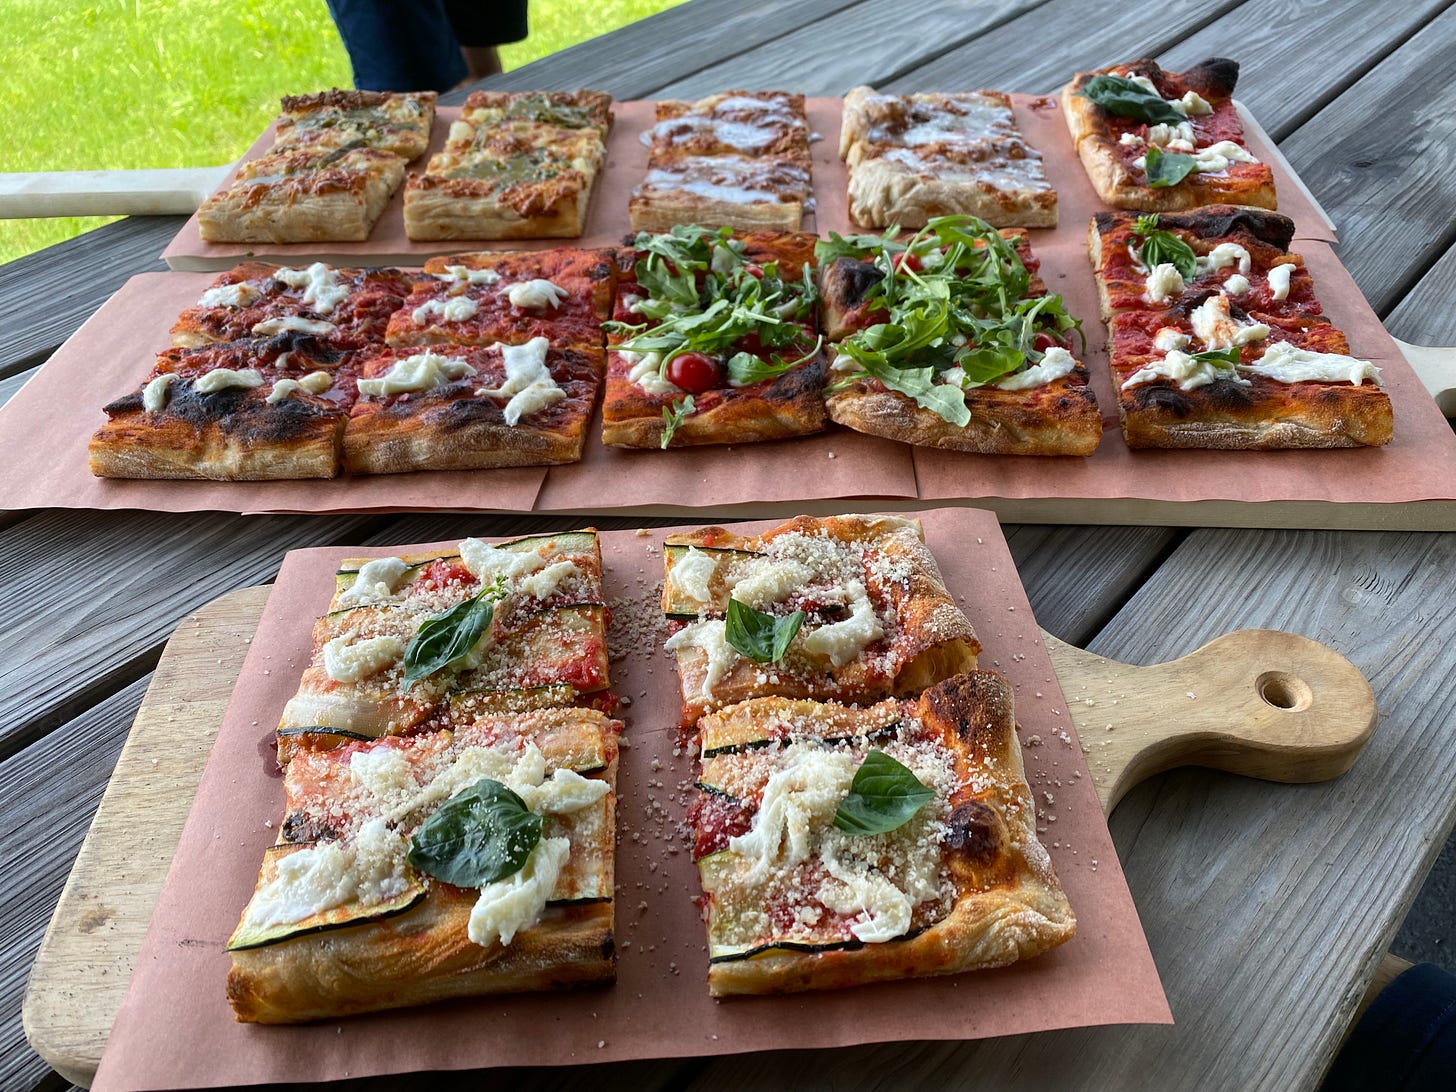
For context, it might be helpful to know that this is chicken country, in that Cornell, located in Ithaca, is the land-grant university for New York State, with a long and influential history in poultry farming. Cornell’s “American Poultry Hall of Famer” professor Robert Baker also had a family farm nearby, in Groton, NY, called Bakers Acres, which, coincidentally, is where we spend our Sundays now at Toby Buggiani’s Adelina’s pizza popup. Baker invented a number of things that changed the country’s poultry industry (probably not for the best, tbh), including the chicken nugget and the popular Cornell Barbecue Sauce, which is kind of like an Italian dressing marinade you can still find on menus in the region.

But I digress. The chickens from Just a Few Acres Farm have a few key qualities that I appreciate in a quality bird. As I’ve said, their meat is plump, flavorful, and juicy. Even when slow-cooked or braised, it retains a good bite and clings to the bone, due, I suspect, to the pasturing of the birds. It’s never been mushy, mealy, or dry. Even the skin is noteworthy, remaining nice and taught over the meat as it browns, instead of snapping back and shriveling up like the elastic bands that cover unnaturally blown up birds of lesser quality.
I’m using the example of these chickens not necessarily because I want you to buy them. You’d have to live near Ithaca to be able to get your hands on them. I’m merely pointing out that even for the most common ingredients and the most familiar preparations, it’s worth searching out the best you can afford because it really does make a difference. Note that I certainly do not find all heirloom, pasture-raised birds delicious. Some are so expensive and so gustatorily unremarkable to me that they aren’t worth it. And chicken aficionados may balk at my highlighting6 a commercial cross. But trust me, they are good. On top of the quality of the ingredient, it’s nice to know you are supporting the local economy.
For those who can’t find chickens they like raised in their area, my friend Marc pointed me once to Jidori, a specialty chicken producer near L.A. that ships nationally. They offer a range of different types of birds, whole and in parts, grown according to different methods, all good. Prices are high when you factor in shipping, but they sometimes have sales. D’Artagnan also sells top-quality chickens nationally.
Now, what to do with these better birds? A few suggestions…
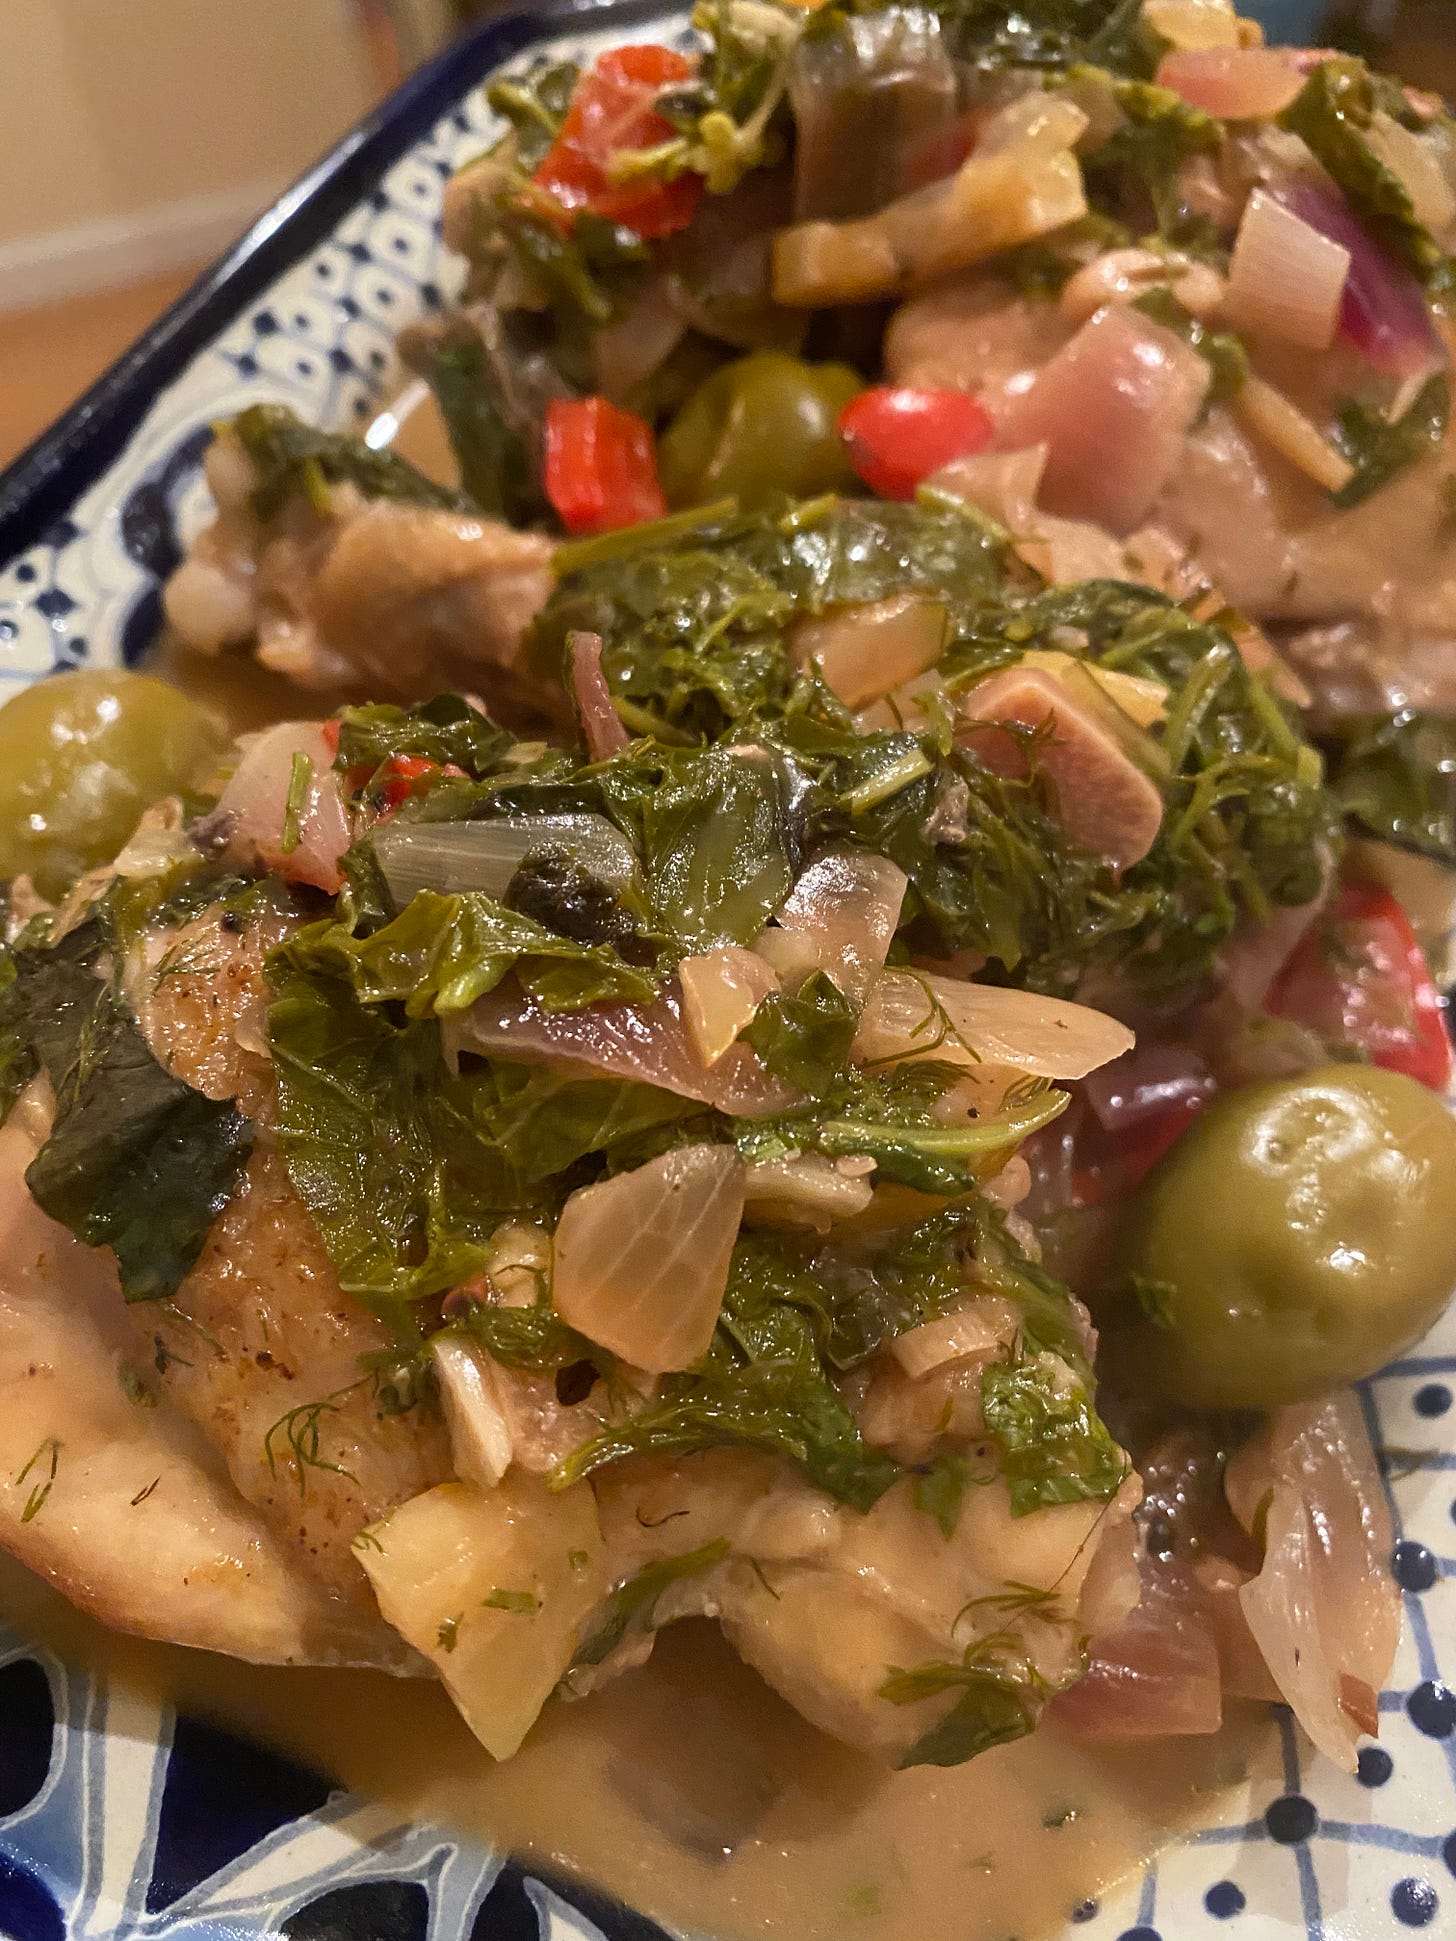
RECIPE: Braised Chicken with Olives, Lemon, and Herbs
I love fresh herbs, especially those that come in giant bunches (rather than bruised and stuffed unnaturally into little plastic clamshells). But they don’t last very long and I hate to throw them away. That’s what led me to cook up this sprightly chicken dish the other day. I had bunches of dill, cilantro, basil, and parsley that weren’t long for this world. They all went in here. Use whatever selection of herbs you have or can find.
3 tablespoons extra-virgin olive oil
4 chicken legs and thighs, separated
Kosher salt
Freshly ground black pepper
Smoked Spanish paprika (pimentón), hot or sweet, as you prefer
1 large red, white or yellow onion, chopped
4 large cloves garlic, thinly sliced
½ red or yellow bell pepper, seeded and chopped
1 small lemon, ends trimmed, quartered lengthwise, seeded, and very thinly sliced
¾ cup dry white wine
¾ cup green or black olives, with 2 tablespoons olive brine
3 cups chopped mixed herbs, such as dill, parsley, basil, cilantro, mint, marjoram and/or chervil
Pour the oil into a large Dutch oven and heat over medium-high heat. Arrange the chicken skin side up on a large plate in a single layer and season generously salt, pepper, and paprika. When the oil is hot, arrange the chicken, seasoned skin side down, in a single layer in the hot oil and let fry until browned, about 4 minutes, using tongs to carefully move the chicken around from time to time to make sure it doesn’t stick to the pan. While the chicken is frying, season the side facing up with more salt, pepper, and paprika. When nice and brown, turn over the chicken pieces to brown the second side for an addition 4 or 5 minutes. Transfer the chicken to a clean plate.
Add the onion, garlic, and bell pepper to the same pan and sauté until wilted. Use a wooden spoon to try to remove any browned bits from the bottom of the pan. (Don’t worry, all of that flavorful goodness will end up in the dish eventually.) Add the sliced lemon and continue sautéing for another few minutes. Add the white wine and scrape all of the remaining bits off the bottom of the pan while the wine simmers. Add the olives along with two tablespoons of their brine and continue simmering a minute or two.
Return the chicken parts to the pan, skin side up, arranging them in a single layer. Use the spoon or spatula to make sure the chicken settles nicely into the sauté mixture. Cover the pan, reduce the heat to low, and simmer for about 20 minutes until the chicken is cooked through. Add the assorted chopped herbs and move the chicken around a little to incorporate into the sauce. Serve hot or at lukewarm with spoonfuls of the lemony, herby sauce on top.

TECHNIQUE: Buttermilk Fried Chicken
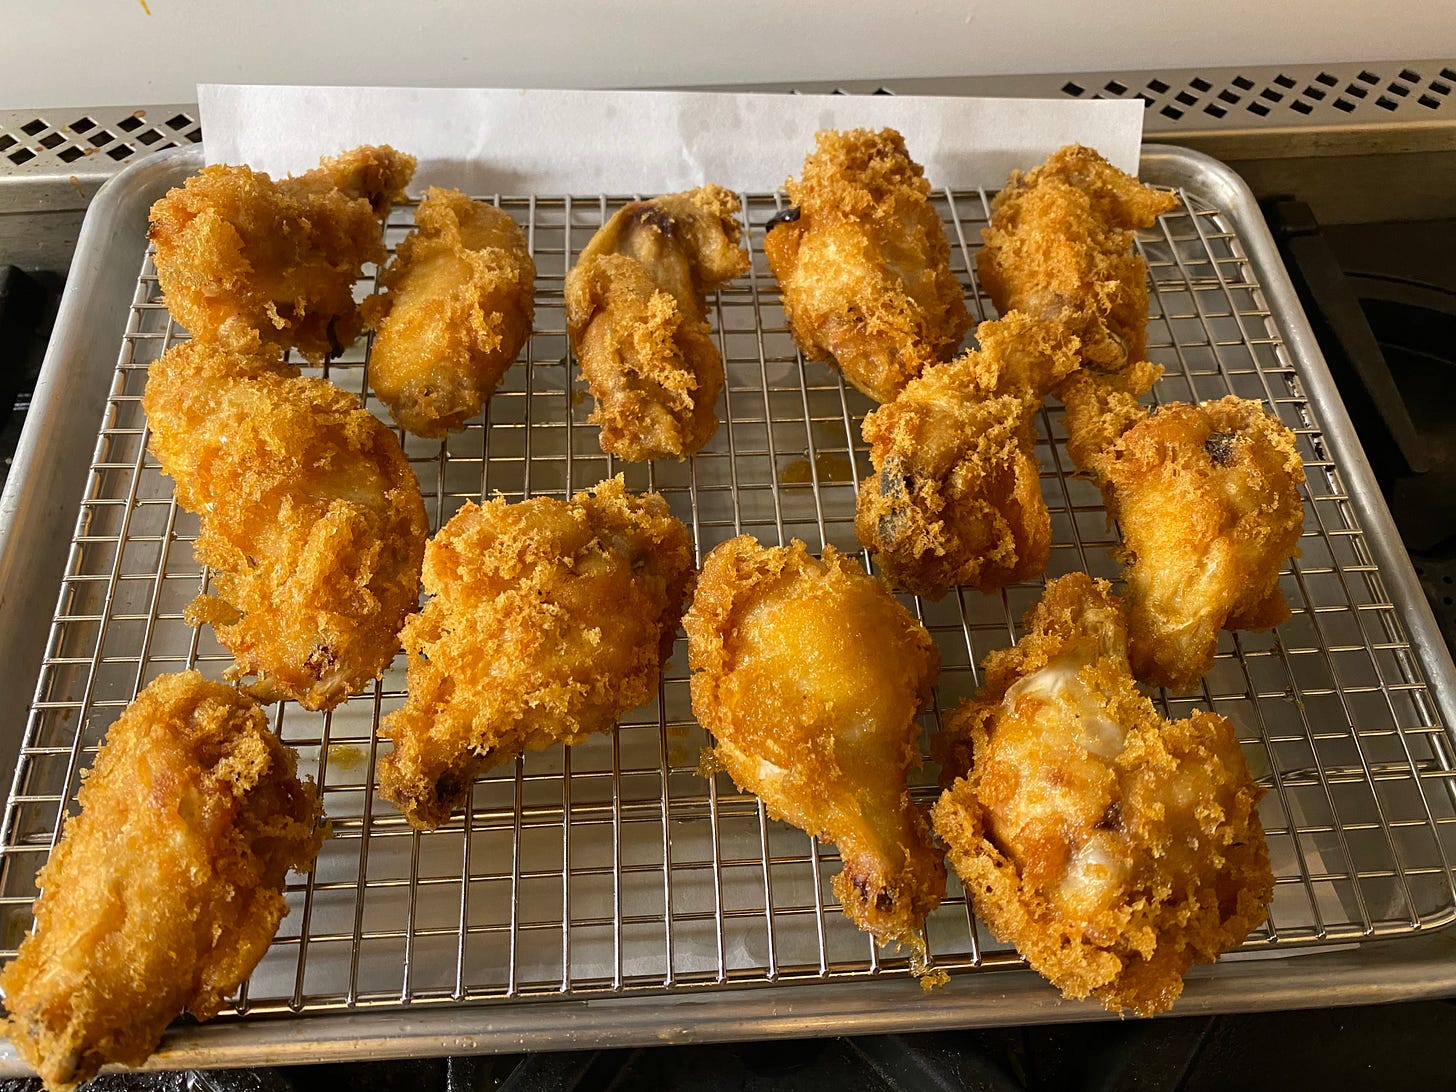
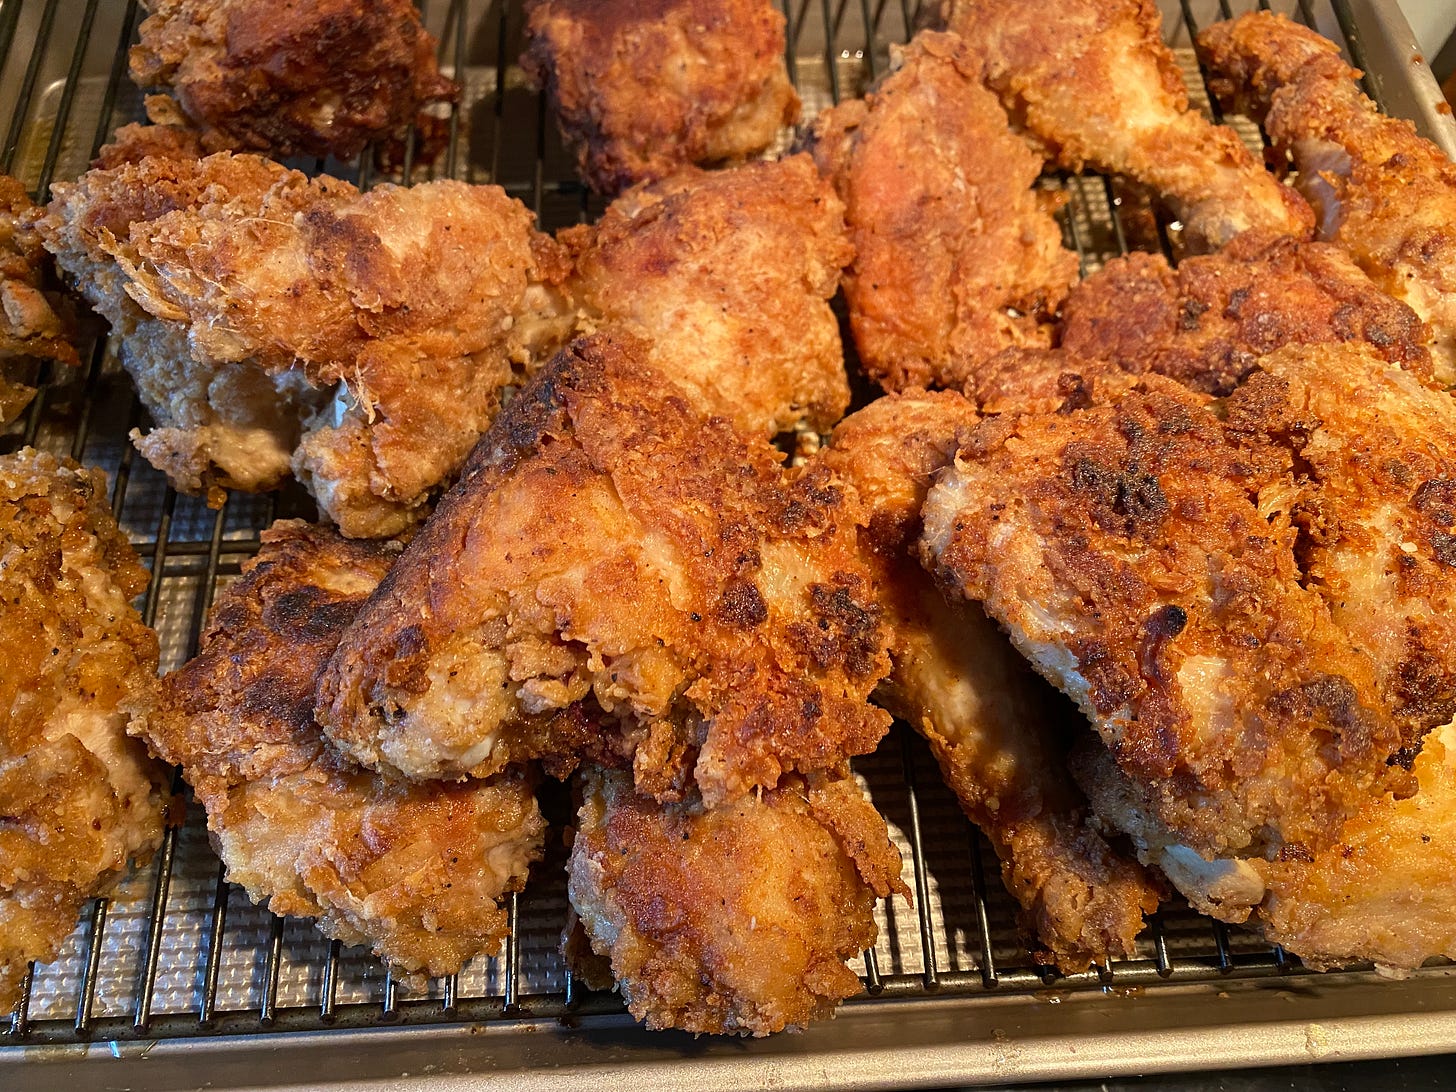
I married a southerner. Though he left Alabama more than 30 years ago, fried chicken is still his favorite meal. I fry a lot of chicken. I called this a technique rather than a recipe because I do the same thing every time, but I don’t always use the same ingredients. For the two of us, I often just fry a few legs. For his birthday, I often fry two or three birds worth of parts. In an effort to free you from the shackles of an exact recipe for something that should be innate, I thought I’d share my process in detail, instead.
Cut the chicken into parts, if it isn’t already. I prefer to fry smaller chickens and smaller parts for a couple of reasons. The ratio of crunchy coating to meat is higher and they cook more quickly and evenly without the meat becoming dry or the coating burning. If I have legs and thighs, I will separate them. If the thighs are particularly huge, I’ll whack them in half with a cleaver. Same with the forequarters. I sever the wings with a decent amount of breast meat attached if I can, and then cut the breast into at least two pieces. (In 10th grade I got a job in a butchers shop by cutting a chicken into eighths in front of the owner.) I season the pieces generously with salt and pepper and put them in a large plastic Ziploc bag. Then I pour in enough buttermilk just to coat, maybe ½ to 1 cup, depending. I massage the pieces a little and set them in the fridge for anywhere between 2 hours and up to 2 days.
When I’m ready to fry, I take another large Ziploc plastic bag and add a cup or so of flour. What flour(s) I use varies. I use mostly unbleached all-purpose or bread flour. But I almost always add some rice flour (white or brown) for crispness, and lately I’ve been adding a few tablespoons of cornstarch or potato starch, too. You could use all rice flour in the Korean fried-chicken tradition. Since I’ve been baking a lot of bread lately, I’ve got a lot of different flours lying around. I’ve added whole wheat, emmer, einkorn, rye, oat, and even buckwheat. Gluten free flour, such as Cup 4 Cup, works well, too (it’s primarily rice flour). I have also used Korean pancake mix. I would just be sure that about half of the flour you use is all-purpose or bread flour.
To a cup of flour(s), add 2 teaspoons of Kosher salt and a lot of freshly ground black pepper. You can stop there and make delicious fried chicken. Or you can add lots of different things. I find fried chicken a really good way to add the various spice mixes of I’ve collected over the years from swag bags or gifts that came with other spice orders. Barbecue rubs, Italian or Greek seasoning mixes, Indian masalas, chili powders, Chinese five spice, they all may find their way into my fried chicken coating at some point (individually, not together). About 2 teaspoons is good for a cup of flour. Three (a tablespoon) if you like bold flavors. It turns out that the goodness of fried chicken comes from the frying part. Everything else is embellishment and the fried chicken part makes it all good. Add the seasoning if using, seal the bag, and shake it up well to make sure all of the seasonings and various flours are evenly distributed.
To fry the chicken, heat about 1/4 inch of peanut oil or other high-smoke-point oil in the bottom of a large cast iron pan over medium-high heat. You want to get to at least 325°F., a little higher even better, and I always check with a thermometer to make sure. The temperature will rise as you fry. Remove the buttermilk-marinated chicken from the fridge. Using tongs, lift the chicken one piece at a time out of the bag, using the lip of the bag to remove any excess buttermilk as the piece emerges. Drop into the bag of seasoned flour. Repeat with as many as four or five pieces of chicken, but not more. There needs to be enough room to move around in the flour. Reseal both bags. Toss the chicken in the flour to coat.
When the oil has reached the right temperature, open the flour bag with the chicken. I use my fingers at this point to lift out the pieces, tapping them on the counter while still in the bag to remove any excess flour. I arrange them skin side down in a single layer in the hot oil. Don’t over crowd the pan or you will risk soggy chicken. But you can repeat with additional chicken until the pan is full. Keep the heat under the pan at medium-high as the cold chicken will drop the temperature of the oil, initially. Once it comes back up to a good sizzle, you can lower the heat to medium.
Avoid jostling the chicken too much, especially just after it’s in the pan, as you want to keep it still while the coating crisps. It’s normal for the chicken skin to stick to the pan a little at the beginning, but as the flour, browns it will loosen. Use tongs just to push it a little bit here and there to keep it frying freely.
The secret to perfectly frying chicken is to learn how to modulate the heat so that the outside doesn’t burn before the inside is cooked. But you also don’t want the outside cooking so slowly that it doesn’t crisp. Usually this is all easier with the first panful of chicken. The second one tends to get too hot and can sometimes burn if you don’t watch it closely. You should hear a good sizzle the entire time it is frying.
After about 7 or 8 minutes, the chicken should be nicely browned on that first side. Turn it over and brown the second side. You may need to lower the heat a little at this point so it doesn’t brown too much. Keep cooking another 6 or 7 minutes. If there are thicker pieces of chicken the sides of which are not crisp, turn them so all sides can brown in the oil8ujk,,. It will just take a minute or two more on each side. To check whether the chicken is fully cooked, insert an instant read thermometer through a crack in the skin all the way to a bone. When it reaches 160°F., it’s done.
If I have more chicken to cook, I transfer the first pieces to a wire rack set on a baking tray and put them in a 250°F. degree oven to stay warm and crisp while I finish frying the remaining chicken.
If you need more flour mixture, you can add it to the bag with the seasonings in the same proportion, until all of the chicken is coated and fried. Between batches you may also want to remove any excessive fried bits from the oil with a slotted spoon and add additional fresh oil to get back to ¼ inch depth. Be sure to let the oil heat back to temperature up before you add more chicken.
As I said above, there is a tendency for the pan and the oil to over heat for the second and third batches, darkening the crust too much before the chicken is cooked through. Keep your eye on the chicken, the pan, and the burner, and don’t be afraid to slide the pan off the heat for a minute or two to give it a break; it should keep sizzling.
Fried chicken is good right out of the pan, lukewarm, room temperature, and even chilled the next day. Maybe that’s why it’s so popular.
A Note for Readers Who Don’t Have Buttermilk or who Keep Kosher
Occasionally, I find myself making fried chicken for kosher friends. My technique is similar, but in addition to buying kosher chickens, you need a substitute for the buttermilk. I use one of to things, either some of my sourdough starter discard thinned down with water or pickle brine. Both work well, whether or not your guests are kosher.


