Going Crackers: Yes, You Should Be Making Your Own
Culinary ROI, Two Recipes for Addictive Crackers, One Gluten-Free, One Sourdough
I’m sending Issue #16 from my sister Leslie’s place in Toronto. Yay! Last month they opened the border and removed the quarantine requirement for vaccinated U.S. citizens (e.g., my husband Nate). It’s been 20 months since I’ve seen my family and Nate and I are excited to be here mid Jewish holidays. The newsletter is coming a little later on this Wednesday than usual because we were driving today. It’s fitting to be sending this from Leslie’s because one of the recipes is for a cracker she introduced me to years ago that I now make all the time. I hope you enjoy this issue, that you enjoy the crackers, and if you do, please think about sending it to friends who cook and perhaps gifting them a subscription. Thank you for your support. And Happy New Year to all those who celebrate Rosh Hashana.
Cooking requires a series of decisions, none more important, perhaps, than the decision about what to make. For me, one of the most important factors in deciding what to make is something you might call culinary ROI (Return on Investment). In the kitchen the investment isn’t necessarily money—unless you are using expensive ingredients, which can be intimidating—but time and effort. The returns are less tangible. For me, they include deliciousness, healthfulness, pride of accomplishment, gratification of transformation, glee at having used up things in my fridge, and overall impressiveness.
The clearest example for me of something that doesn’t give a huge culinary ROI is ketchup. To make ketchup, you take a large quantity of beautiful, fresh tomatoes (10 pounds, I recall), and cook them forever. You season, sweeten, and acidify them, pass them through a food mill and maybe also a sieve, and then you cook them some more. It takes hours. I’ve done it a couple of times. And when I was done, what I made tasted okay. But because all anyone really wants when they reach for ketchup is something that tastes like Heinz, why bother?

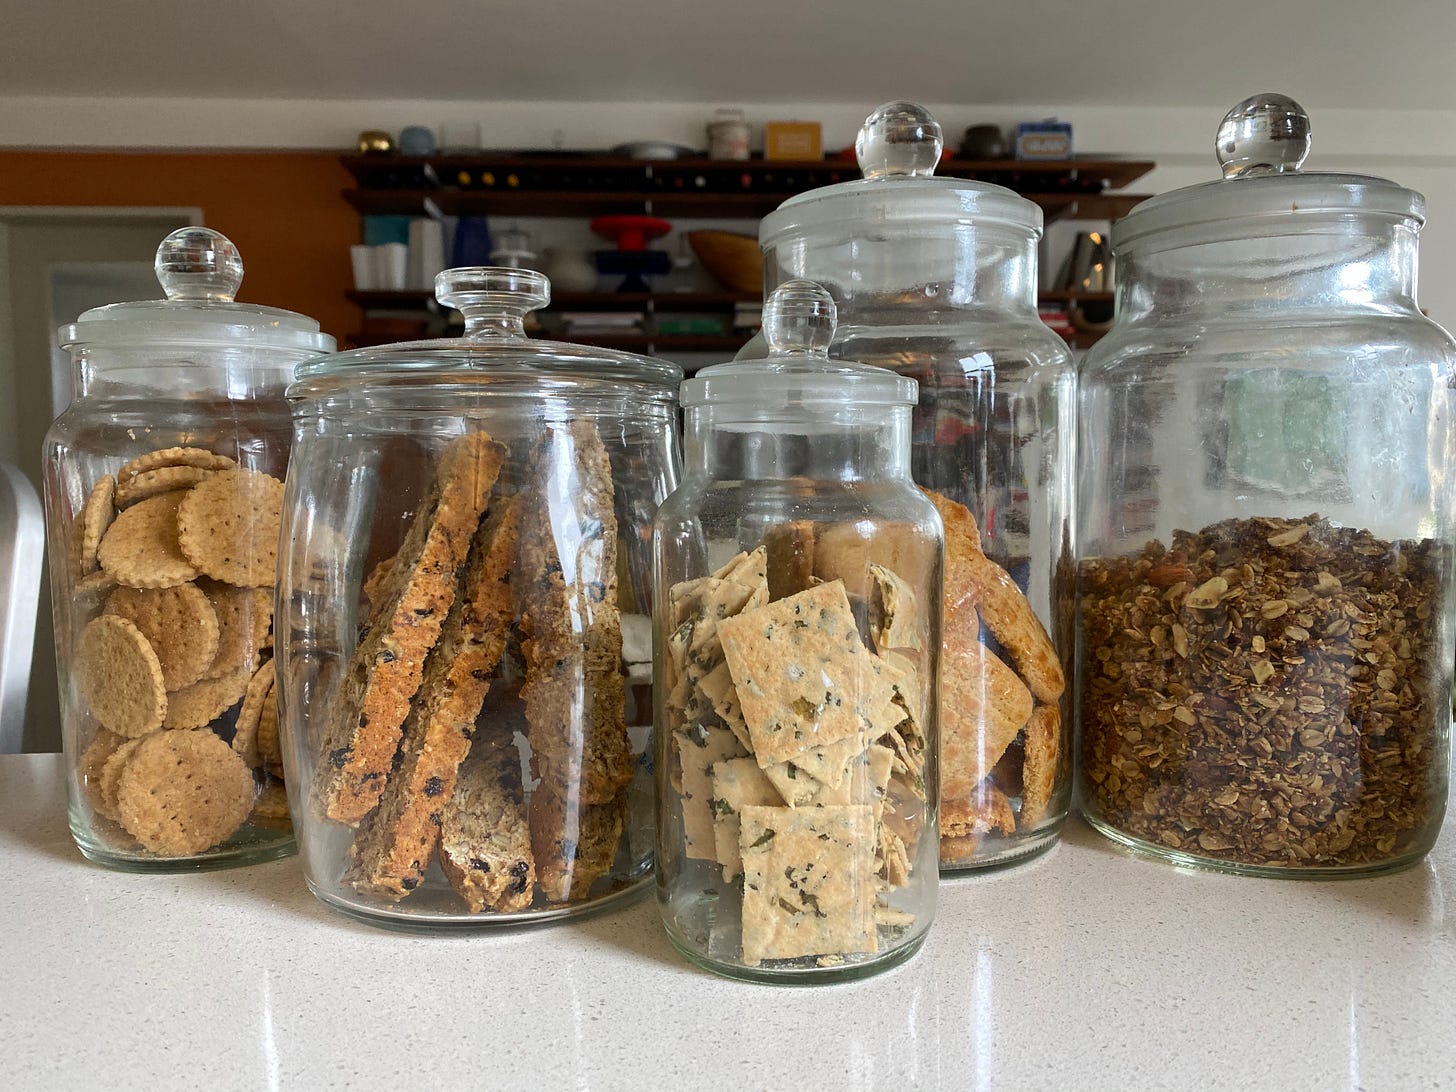
Crackers are another matter. Crackers are quite easy to make. They use only a few ingredients you likely already have in your pantry. They taste infinitely better than crackers you buy #imho. In our house we think of them as more than accompaniments to cheese: they are snacks in their own right, like potato or pita chips. Homemade crackers are also healthful. They are a good way to use up things you have lying around. They keep for a long time at room temperature and even longer in the freezer. If they go stale, you can even crisp them up in the oven. And they are so impressive that your guests will not believe you made them.
I’ve made a bazillion different types of crackers over the years—cream crackers, seed crackers, water crackers, spiced crackers—but I keep coming back to two recipes time and again. You will almost always find one of them in my kitchen, and in fact, as I type this, I have both nearby.

The first is an easy, addictive sour-cream and chive cracker that my sister discovered because the recipe accommodated her dietary needs. I have only ever referred to them as Leslie’s Crackers. They happen to be gluten free and keto friendly, but we love them because they are delicious. In fact, I just googled some lines from the recipe and learned they were developed by a “certified keto coach” named Elviira, who is based in Finland. They are so good I’ve had James Beard Award winning pastry chefs ask me for the recipe. Elviira, I cannot thank you enough.
RECIPE: Leslie’s Elviira’s Sour-Cream and Chive Crackers
(Yields about 3 dozen crackers, depending on how large you cut them)
A few notes on ingredients and techniques having made these dozens of times. It may seem to you that something is wrong with this recipe because there’s nothing to bind the dough. Don’t worry, they work. Now that almond flour is readily available, I always have it on hand so I can make these crackers, but I keep it in my freezer so it doesn’t go rancid. This is important because nothing can ruin a recipe more than rancid nuts. Also, I use a lot more chives than the original recipe called for and even more than I call for in this version if I’m trying to use some up. I hate wasting herbs, which feels inevitable unless you make a lot of Persian food, so I pile them into many things. I’ve used Chinese or garlic chives for these crackers, but their distinctive flavor is a little too strong. Use full-fat sour cream. Also, given the texture and consistency of the dough, it’s imperative to roll it out between sheets of parchment, so don’t try something else.
230g (2 cups) fine almond flour
50g (small bunch) chives, finely chopped
1 teaspoon fine sea salt
½ teaspoon onion powder
70g (1/3 cup) sour cream
Preheat the oven to 250°F. In a small bowl, combine the almond flour, chopped chives, salt, and onion powder, and blend well with a small whisk or large fork. Add the sour cream and, using a wooden spoon or rubber spatula, mix until all the almond flour is moistened, the dough clumps together, and hold its shape. It will look too dry at first, but it will come together. As there is no gluten, the dough will be a kind of paste or putty. Once blended, using the spoon or spatula, gather it into a ball.
Transfer the dough to the center of a sheet of parchment paper the size of a half sheet pan (13” by 18”) and flatten it to a rectangle proportionate to the parchment. Place a second sheet of parchment on top and, using a rolling pin, roll out the dough until it almost covers the entire surface of the paper. For the crispest crackers, which I like, it should be 1/16” thick or less. If the dough extends beyond the paper, use a small offset spatula to trim it and place it somewhere else that needs it. You can treat the dough like paste, patching it here and there, to make sure it is even throughout without fear of overworking it.
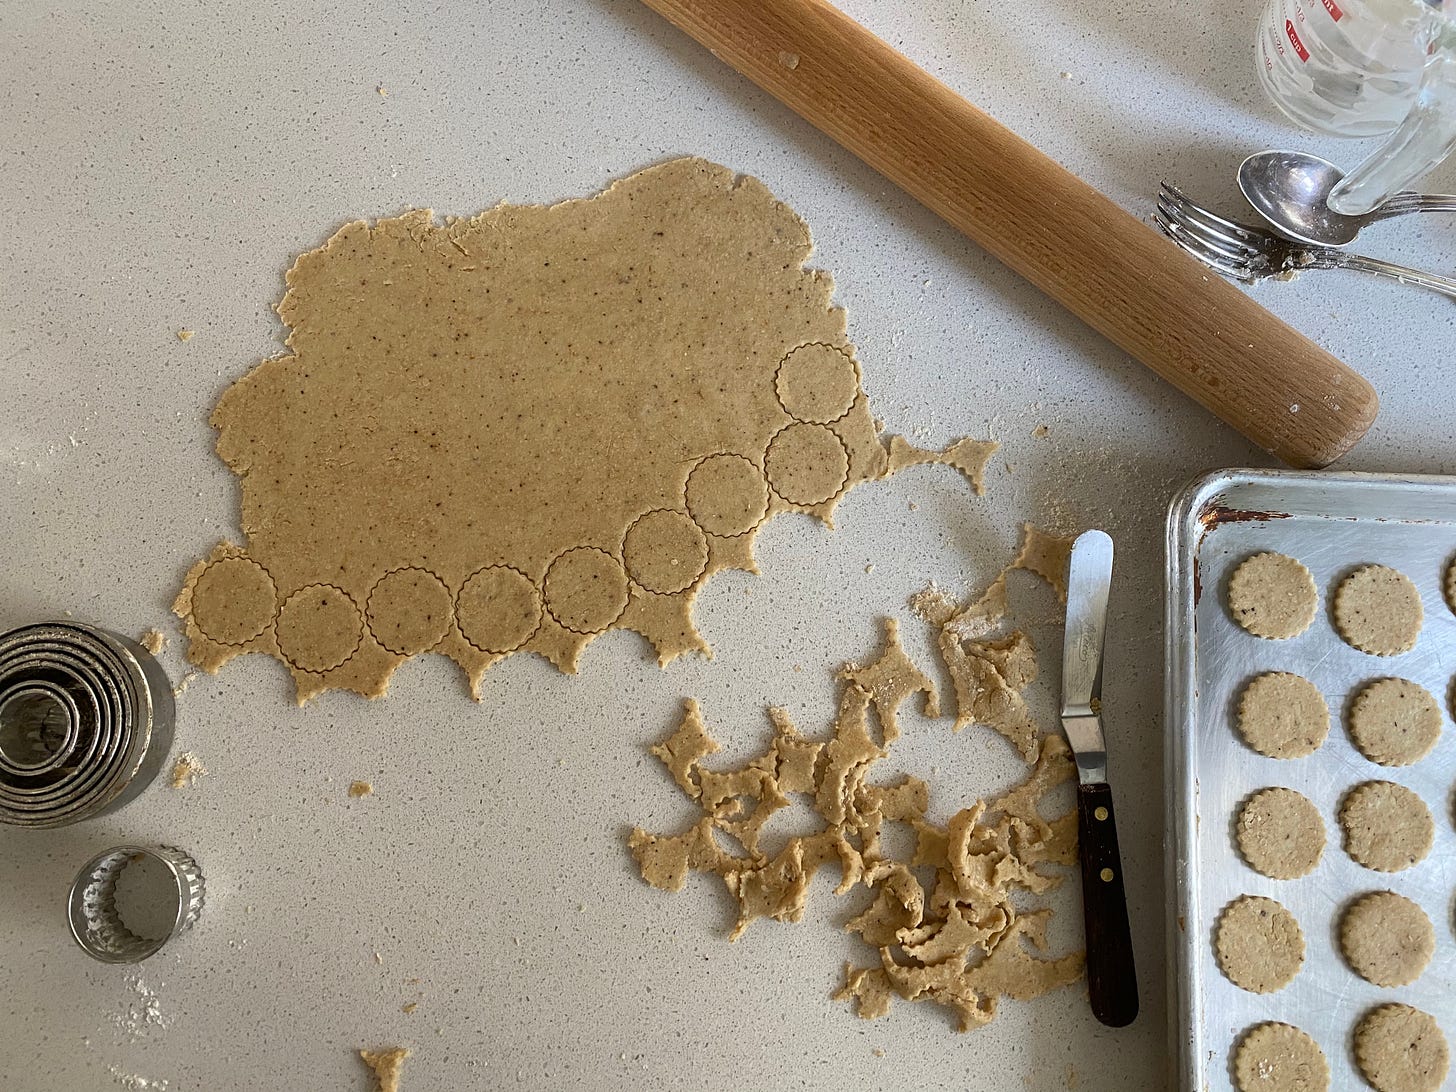
When finished rolling, remove the top sheet of parchment. Using a pizza wheel or pastry/pasta cutter, cut the sheet into small rectilinear crackers. (For these crackers I prefer a straight cutter, not a fluted one, as the crackers lose the definition of the scalloped edge once baked.) I aim for 1” x 1 ½” rectangles, but squares or even triangle are good, too. Although you want to cut through the dough, you don’t want to cut the parchment, and in fact you are really just scoring the dough. The crackers will separate after they are baked.
Using the corners of the paper, carefully transfer the dough, still on the parchment, onto a baking sheet. Set in the oven and bake for about one hour, rotating the pan halfway through. I like my crackers very crisp so I err on the baking too long side, until I see some browning around the edges. Remove from the oven, set the pan on a wire rack, and allow the crackers to cool completely in the pan. Once cool, break them apart. Store in an airtight container for up to 10 days or in the freezer for up to 3 months. If the crackers begin to soften after being stored at room temperature for a few days, you can crisp them up in a 250°F. oven for 7 to 10 minutes.
Our second “house cracker” was the result of my constant search for things to do with discard from feeding my sourdough starter. You could probably simulate the starter if you don’t have it, but I think you should make other crackers instead. The basic recipe was on the King Arthur website, but I’ve adapted it to my own taste. The most important change I made was switching out the butter for olive oil. To my surprise, I didn’t think the flavor of the butter went will with the sour of the starter and the herbs. (The surprise was I’ve always thought everything is better with butter. Not true, it turns out.) The olive oil also gives a nice, crisp texture.
RECIPE: Mitchell’s Whole-Grain Sourdough Crackers
(Yields about 6 dozen crackers, depending on how large you cut them)
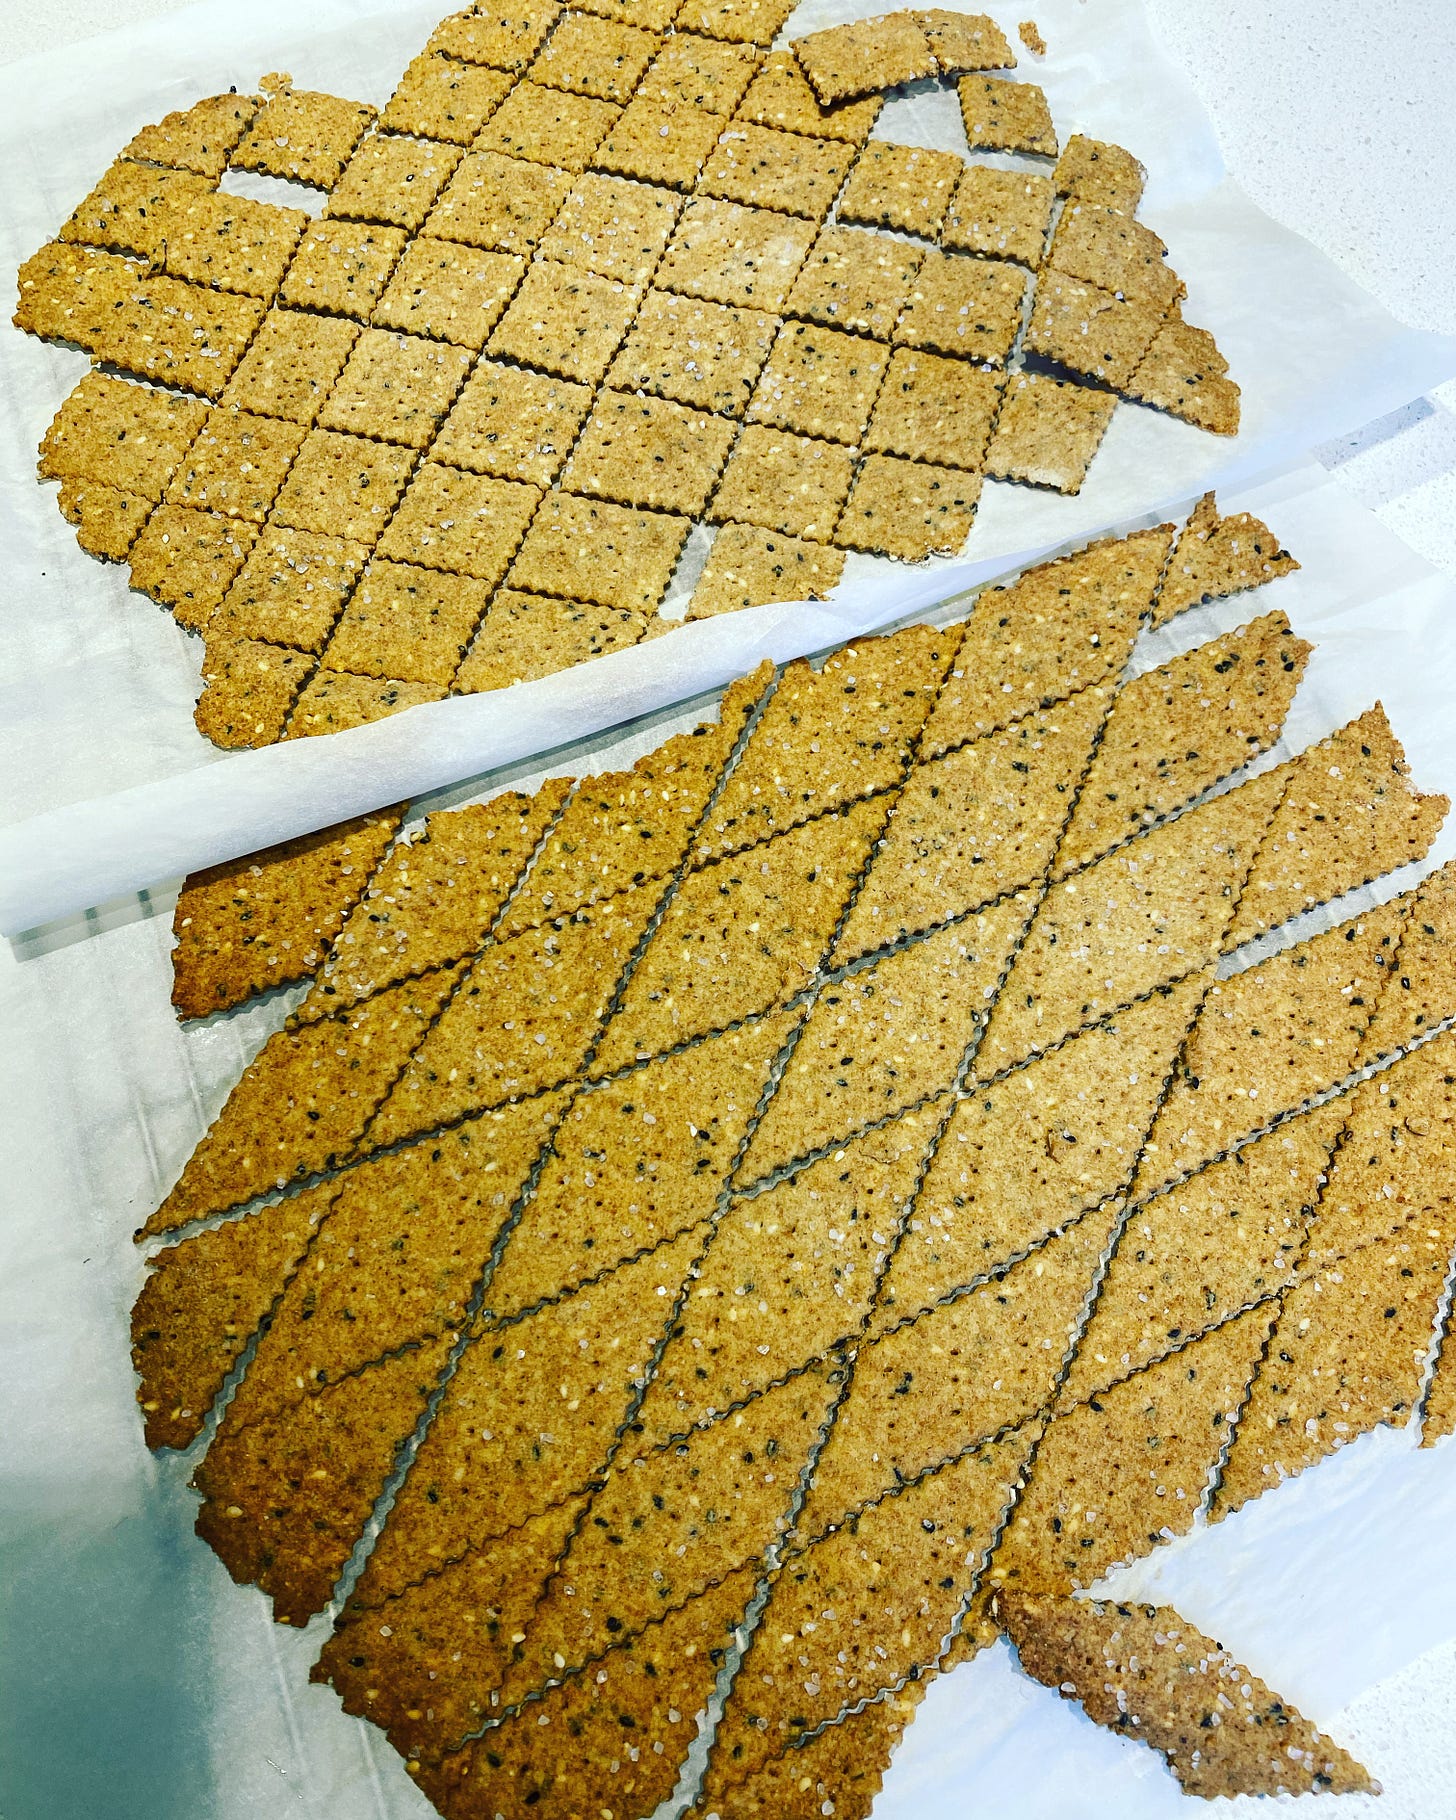
A few notes on ingredients and techniques having made these also dozens of times. My sourdough starter is made with 100% whole wheat flour and water in a ratio of about 110% water to flour. Sometimes I add whole rye to it. For the additional flour in the recipe I use any whole-grain flour I have lying around. I have made these crackers successfully with whole wheat (white and dark), dark rye, einkorn, Øland, spelt, emmer, Fredericks, and red Fife flours. As for the flavorings, I experiment with different combinations and write down the ones I like best. I’ll give you a list of my favorites at the end. But the two I make most often are sesame and caraway-nigella seed. I’ve tried different finishing salts to sprinkle on at the end and have settled on coarse kosher salt, the crystals of which add just enough saltiness. Larger flake salts are too uneven for my taste, making some bites too salty and others too plain.
113g (1 cup) whole-wheat or other whole-grain flour
1/2 teaspoon fine sea salt
227g (1 cup) whole-grain sourdough starter (110% hydration)
57g (1/4 cup) extra-virgin olive oil, plus additional for brushing
Up to 2 tablespoons herbs, spices, and/or seeds of your choice (see suggestions below)
Kosher salt, for sprinkling on top
In a medium bowl, combine the whole-grain flour, fine sea salt, sourdough starter, olive oil, and flavoring. With a wooden spoon or rubber spatula, mix to form a smooth dough, making sure the ingredients are well blended and evenly distributed throughout.
Divide the dough in half and shape each half into a small rectangular slab. Cover with plastic wrap, and refrigerate for about an hour.
Preheat the oven to 350°F.
Place one slab of dough on a piece of parchment paper the size of a half sheet pan (13” x 18”) and place another sheet of parchment on top. Using a rolling pin and pressing on the center of the pin, roll out the dough as thinly as possible, about 1/16’’ thick, to cover most of the parchment. If the paper on top creases or pleats, lift it off and straighten it out. When finished, remove the top piece of paper.
While still on the counter, use a straight or fluted pastry or pasta cutter to cut the dough into nice rectilinear shapes. I like fluted diamonds for these crackers. As with the sour-cream crackers above, you want to cut through the dough, but not the paper, to score them. They will separate into crackers once baked. Using a fork, prick each cracker a few times to “dock” the dough (think of a Ritz cracker; this docking which will help them cook through and not puff). Using a pastry brush and some additional olive oil, lightly brush the surface of the crackers. Sprinkle the surface with a light dusting of kosher salt. I find he higher I hold my hand above the dough, the more even the salt distribution. Using the corners of the parchment, transfer the dough on the paper to a sheet pan and set aside. Repeat with the remaining chilled slab of dough.
Bake the crackers on the sheet pans for 25 minutes, until they have begun to brown around the edges. Midway through, rotate the sheets so they cook evenly. Because I like extra crispy crackers, at this point, I turn the oven off, prop the door open with the handle of a wooden spoon, and let the crackers continue to dry out while the oven cools. Pay attention, here, as they can get a little too brown if your oven retains a lot of heat. (I have some serious baking stones in my oven that keep it hot for hours.)
Once cooled, separate the crackers. They can be stored in an airtight container at room temperature for about 2 weeks or frozen for up to 3 months. If they soften or stale at room temperature they can be crisped in a 300°F. oven for 5 to 10 minutes.
Our Favorite Flavor Combinations
1 tablespoon each caraway and nigella seeds
1 tablespoon each black and white sesame seeds, with 1 tsp toasted sesame oil incorporated into the olive oil in the dough (you can also just use 2 tablespoons of white sesame seeds)
2 teaspoons wild Italian fennel seeds
1 teaspoon onion powder, 1 tablespoons nigella seeds, and 2 tablespoons chopped chives
2 teaspoons each marjoram, rosemary, and thyme


