Issue #170: Simple Japanese Pickles
An Integral Part of Japanese Cuisine That's Easy to Make at Home
I’ve started this week’s newsletter on our last full day in Japan. It has been quite a trip. Although we miss Milo terribly, we are reluctant to leave. Our last couple of days we’ve been staying at a beautiful onsen resort (Japanese hot spring) called Hoshinoya in the countryside, a town called Karuizawa, about an hour’s shinkansen (bullet train) ride from Tokyo. It is thankfully much cooler here than in Tokyo. We’ve enjoyed beautiful, seasonal meals, many hot baths, and spending time in the restorative forest setting alongside a rushing river. From here we will head back to Haneda airport and then home.
It’s been so great to reacquaint ourselves with all the things we love about Japan—the fast trains, the convenience stores, the restaurants that specialize in one dish or another, the crafts, the public baths, the orderliness of crowds, the overall cleanliness and sense of safety, the rituals, the people, the breakfasts, too many to name. I hope it’s not another decade before we return.

On one of my very first trips to Japan almost 25 years ago, the renowned American expat Japanese food expert Elizabeth Andoh invited me to join a private class she was teaching about tsukemono, Japanese pickles. Although I had been making traditionally fermented kosher dills and various types of western quick pickles for some time (see some advice on making kosher dills I recently gave fellow Substacker Ed Behr for the Art of Eating), the subject of Japanese pickling was totally new to me.
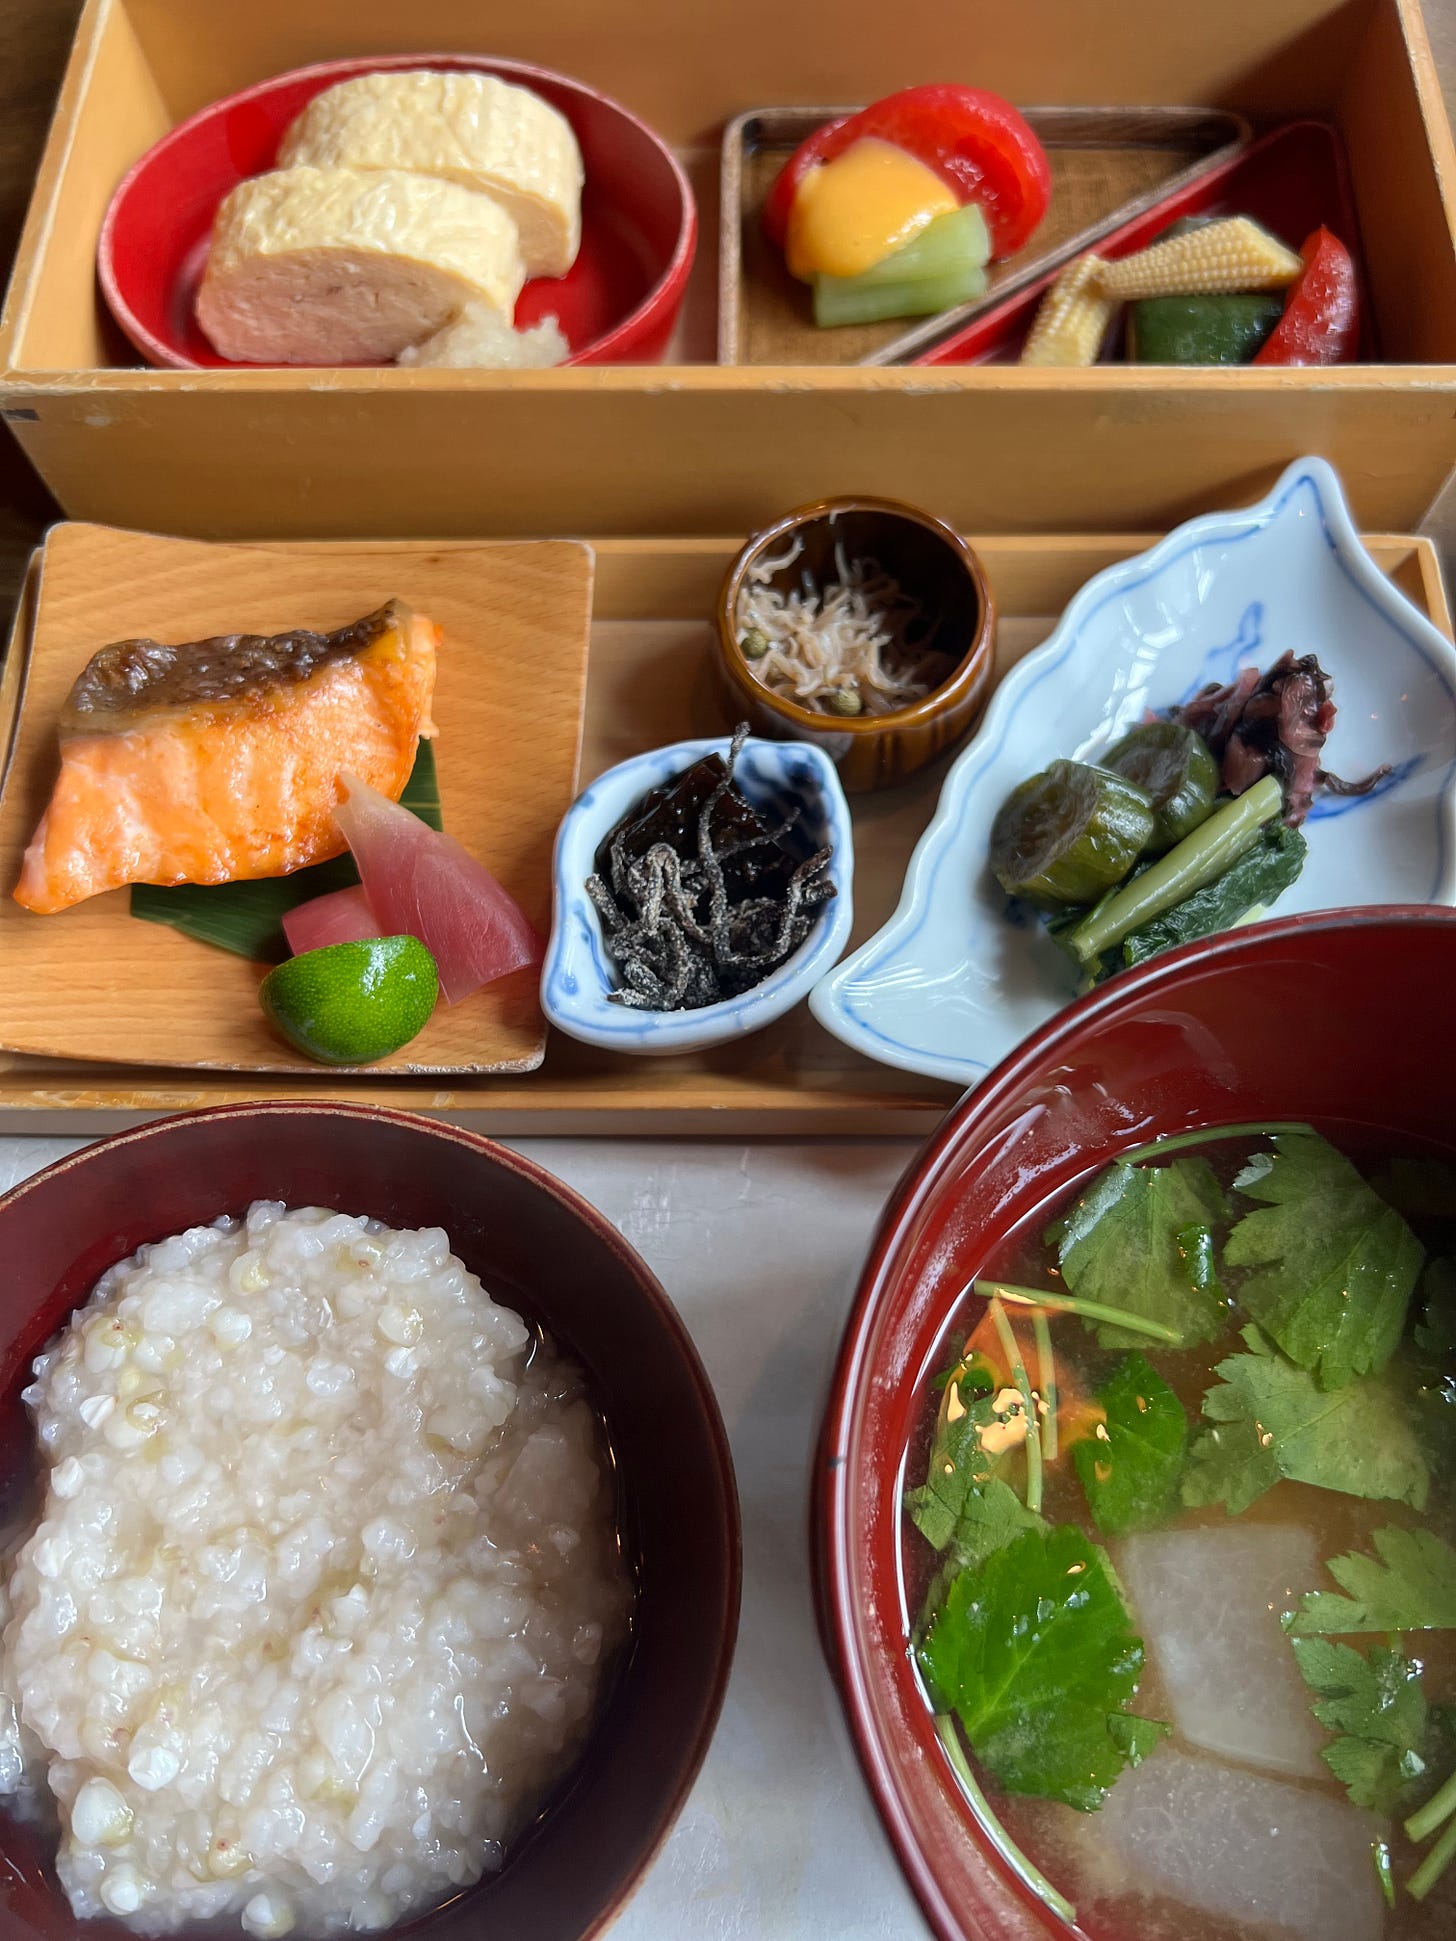
From Andoh I learned that there are myriad varieties of Japanese pickles, which vary from region to region. Every meal, breakfast through dinner, is served with pickles. A typical Japanese lunch might consist of some rice sprinkled with furikake (rice topping), miso soup, and pickles. Pickles add umami, texture, flavor, and contrast to most Japanese meals.

Just as there’s a wide range of Japanese pickles, there’s a wide range of Japanese pickling techniques. Simply salting and pressing vegetables, such as cucumbers and cabbage, for a couple of hours is all you have to do to make common shiozuke, or salt pickles. Add a piece of dried kombu (kelp) and you up the umami ante considerably. Should you wish to dive deeper, you can maintain a rice-bran ferment into which you nestle various vegetables to make traditional nukazuke, or rice-bran pickles. The nukadoko, which is what the bran fermentation medium is called, needs to be fed regularly and maintained much like sourdough bread starter. It’s a commitment.
Gadgets Galore
After that class with Andoh, I was convinced I was going to make Japanese shiozuke regularly, so much so that I carried a pickle press home to facilitate the process. Although a press isn’t necessary to make these pickles—you can use a bowl and a small plate weighted down with something heavy—I was sure I needed a pickle press in my batterie de cuisine. I love how there’s a gadget in Japan to do just about everything.
Allow me to further illustrate this last point about Japanese gadgets with our friend Marcus’s special shokupan toaster, designed to perfectly toast one piece of fluffy Japanese milk bread at a time. To get it just right, you indicate the thickness of the bread by selecting whether your standard-sized loaf has been cut into four, five, or six slices. It then toasts the bread simultaneously from the top and bottom, sealing itself during the process so that the steam trapped inside keeps the bread fluffy. See why I love it here?!
Back to Pickles
Given the bumper crop of the Japanese cucumbers we harvested this year, not to mention the head of Napa cabbage from our CSA we couldn’t finish before we left for Asia, I thought the first Japanese thing I would make when I got home was some shiozuke.
During that pickle workshop many years ago, Andoh demonstrated how to remove the bitterness of the cucumber by slicing off a little of the tip and rubbing the sliced ends together until a white froth appeared. That froth, she said, was the bitterness being extracted. I’ve never seen this done before or since, nor have I done it myself. Still, I was impressed. Next, she sliced the cucumber thinly on a mandoline and combined it with small squares of cabbage in her pickle press. She tossed them with salt, added a small piece of dried kombu (kelp), closed the press, and cranked the pressure. Within about 20 minutes or so, liquid began to pool in the base, indicating the pickles were on their way.
You can make shiozuke from just about any watery vegetable, but cucumber and cabbage are most common. Long, thin Japanese cucumbers have a particularly dense texture and fewer seeds than most. Not surprisingly, they make excellent shiozuke. Kirbys or Persian cucumbers will work in a pinch. Fresh green or Napa cabbage work well, too, as do zucchini and summer squash. You can make shiozuke from any one vegetable, or prepare them in combination, as Andoh did. To the basic salt and kombu combination you can add a dried chili and toasted sesame to spice things up. How long you let your pickles cure is up to your personal taste preference. I find 2 or 3 hours at room temperature or overnight in the fridge to be ideal.
RECIPE: Shiozuke (Japanese Salt Pickles)
Makes about 1 cup of pickles
About 1/2 pound Japanese cucumbers, green or Napa cabbage, and/or zucchini or summer squash
Kosher salt
1 teaspoon toasted sesame seed (optional)
1” x 2” piece dried kombu
1 dried chili pepper (optional)
If using cucumbers and/or zucchini, thinly slice them on a mandoline. Cabbage should be sliced a little thicker, or cut the leaves into small squares.
Into a Japanese pickle press or a small glass bowl (so you can see the liquid form), place a layer of vegetables and sprinkle with salt and a pinch of sesame, if using. Toss to coat lightly with the salt and pack down. Add another layer of vegetable on top, and repeat until you’ve salted all of your vegetables. Add a piece of kombu and the chili pepper, if using.
If using a pickle press, place the cover on and adjust to apply maximum pressure on the vegetables. If using a bowl, lay a small plate or coaster on top and weigh it down with a small can or a glass filled with water. You should start to see liquid release from the vegetables within about 20 minutes. Let sit for 2 or 3 hours at room temperature or refrigerate overnight. Remove the weight, remove the kombu and chili, if used. Fluff the vegetables and they are ready to serve. They will keep a couple of days in the refrigerator.


