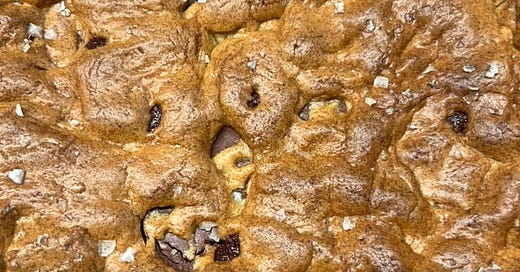
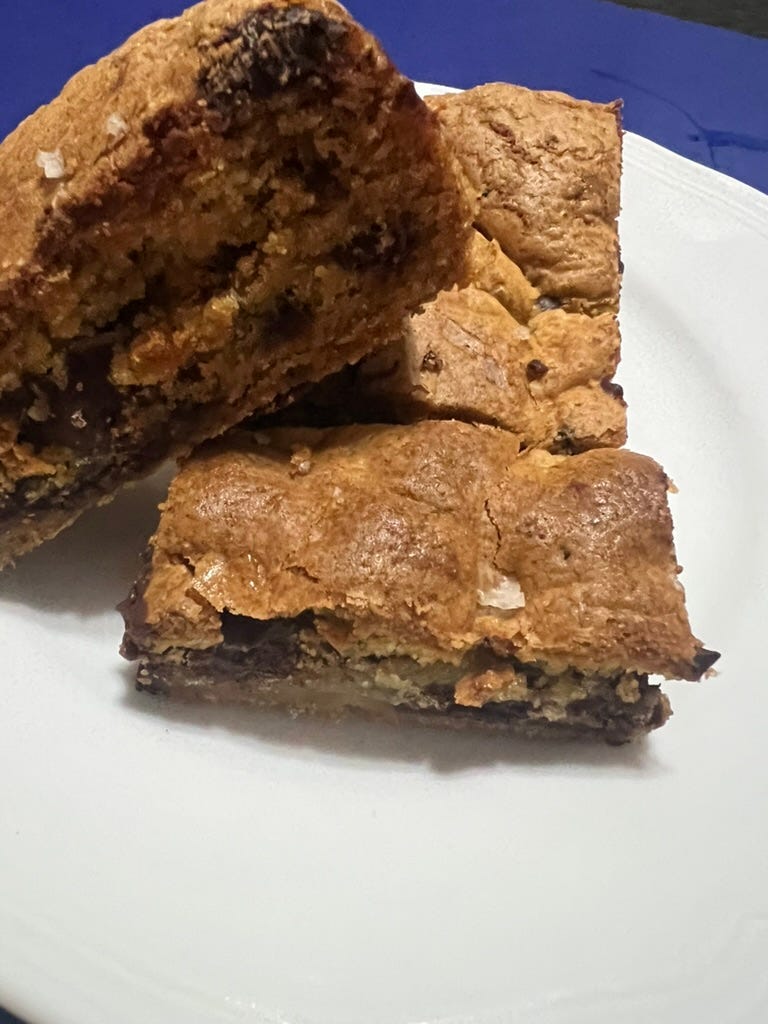
Issue #179: Brown-Butter Chocolate-Chip Cookie Bars
A Bar Is Not a Cookie, But It Can Be Close—I Don't Use Chips!
Nate LOVES chocolate chip cookies. But I don’t love making them. In addition to my relative disinterest in the outcome, for some reason I just find the motions of scooping, baking, cooling, and repeating a bore. I’m not at all opposed to repetitive tasks in the kitchen, mind you. Quite the opposite. But I guess my lack of enthusiasm for the result means I can’t quite lose myself in the meditative quality of the chocolate-chip-cookie-making process.
That doesn’t mean I don’t try to keep myself interested in his favorite food group. Whenever I see a recipe for another “best ever” chocolate chip cookie, I make a note. Eventually, I make it, for my own curiousity more than his. They are never as good as the one David Leite devised for the New York Times back in 2008, the ne plus ultra of chocolate chip cookies in Nate’s opinion (mine doesn't count).
Realizing the other day that it might be time again to make Nate a batch of chocolate chip cookies—after all, he’s been working really hard at his new job—I had the idea to create a recipe for chocolate-chip cookie bars that might satisfy his craving, while making it easier for me to whip up.
Nate doesn’t usually love bar cookies. And I get why. They tend to be too thick and cakey, the death knell for any cookie. What’s more, the ratio of crispy edge to gooey center is never right. And, let’s face it, they aren’t round.
Still, with respect for the ease with which one can make a pan of satisfying brownies, I wanted to give it a try. I looked around the internet for recipes, but even the overly styled photos couldn’t make many chocolate chip cookie bars look appealing.
So, I made up my own.
I started with a basic cookie recipe, which are all very similar in the end, anyway. I decided to brown the butter for extra flavor and because melted butter produces a denser, less cakey result. To increase the flavor of the browned butter, I deployed a new trick I’d learned of adding some nonfat milk powder to the butter, which ostensibly adds more milk solids, the things in the butter that brown in the first place. Then I used all the other tricks you see people tout in their “best ever” chocolate chip cookie recipes, including corn starch for density, baking soda for flavor as well as lift, a high proportion of brown sugar for chewiness and flavor, loads of vanilla, fine Valhrona chocolate fèves instead of cheap chips, a sprinkling of flaky salt, and the kicker, a long rest in the fridge to hydrate the starch, as Leite explained in his New York Times masterpiece.
These bars turned out so good that every time Nate took one—who are we kidding, two—he commented how delicious they were.
Of course, you can omit any of the extras, as your pantry and schedule allow. Leave out the milk powder, use regular chips, bake them right away. They will still be good. They still won’t be round, though I guess you could cut them into circles and then eat the cast-off edges, which wouldn’t have any calories because they aren’t actually “cookies.” Nevertheless, if you do anything with these bars at all, I warn you, Nate may come a-knocking.
RECIPE: Brown-Butter Chocolate-Chip Cookie Bars
3/4 cup (1 1/2 sticks) unsalted butter
1 tablespoon nonfat dry milk powder (optional)
2 1/4 cups all-purpose flour
1 tablespoon corn starch
1 teaspoon baking soda
¾ teaspoon fine sea salt
1 cup light or dark brown sugar, packed
2/3 cup granulated white sugar
2 large eggs
1 tablespoon vanilla extract
7 ounces (200g) dark chocolate (60 to 70%) disks or fèves
Flaky salt, such as Maldon of Falksalt
Grease a 9-by-9-inch square pan with pan spray and line with parchment paper, making sure to leave a couple of inches of overhang on all sides. Grease the parchment, as well. Set aside. Preheat the oven to 350°F.
Brown the butter. Set a large, clean, heat-proof mixing bowl beside your stove. Combine the butter and the nonfat dry milk powder, if using, in a small, preferably nonstick frying pan or saucepan and set over medium-high heat to melt. When the butter has melted and begins to sizzle, start stirring rather frequently to encourage the milk solids to brown evenly and to keep them from sticking to the bottom of the pan. Once you begin to smell the aroma of toasted butter or nuts—which can take as long as 10 minutes—watch carefully. You want the milk solids to darken to a deep brown, but they can easily burn. If you see smoke or smell char, you’ve gone too far. As soon as you think they are done, pour everything at once into the clean bowl to cool, scraping the bottom of the pan with a rubber spatula or wooden spoon to get every flavorful drop. Let cool for 10 to 15 minutes.
In a medium bowl, combine the flour, corn starch, baking soda, and fine sea salt, and whisk to blend.
Into the bowl with the cooled brown butter, add the brown and white sugars, beating with a whisk to form a thick sludge. Add the eggs, one at time, beating after each, and beat in the vanilla. Switch to a wooden spoon or rubber spatula. Dump in the dry ingredients and mix to combine. Just before all of the flour is incorporated, add the chocolate disks, and continue mixing just until fully incorporated.
Transfer the dough to the prepared pan and using an offset spatula, the back of a spoon, or your fingertips, press the dough to flatten to the edges and corners. If any chocolate disks are standing up push them down to lay flat.
If you have the time, at this point I suggest covering the pan with plastic wrap and putting it in the fridge to rest for 24 hours. If you don’t have time, go ahead and bake them right away.
Sprinkle the surface sparingly with flaky salt. Set in the preheated oven to bake for about 30 to 35 minutes, or until the top is nicely browned and the edges are set. From the fridge they will take a few minutes longer. The bars may still be slightly gooey in the middle, but in this instance, unlike for cookies, it is better to err on the side of over baked rather than under.
Let cool on a rack at room temperature for about an hour or so until firm. Then carefully lift the whole thing out onto a cutting board. Carefully peel back the sides of the parchment, and cut with a long, sharp knife into the desired size and shape. The bars will keep about 10 days in an airtight container at room temperature or several months in the freezer. They last longer in the freezer not only because they are frozen, but also because they can’t be eaten all at once.


