Puffing Up: Pita Magic in Your Kitchen
Making this Middle Eastern Flatbread Is Easier and More Fun than You Think
Issue #43. (I mis-numbered #42 last week.) Still writing from overseas. A recipe I offered Emily Nunn for her Department of Salad newsletter was mentioned in a profile of her by Kim Severson in the New York Times yesterday. It’s a great profile of a great person, whose twitter feed and writing provide me endless LOL entertainment, insight, and delicious recipes. The recipe mentioned was for a spicy cherry salad that was created by Israeli food writer Hila Alpert. At the very moment I learned it was acknowledged in the Times, I happened to be sitting in an event at Asif: Culinary Institute of Israel (for which I’m doing some consulting) about a little-known-outside-Israel phase of Israeli food, the 1970s, when hummus, steak and Bavarian cream became iconic dishes, due in large part to the restaurant empire built by Moshe Croovy, who at 87 has published a memoir of his life running 40-plus restaurants, and who spoke movingly at the event. Next to me was Naama Shefi, founder both of Asif and Jewish Food Society, who had first served me Hila’s spicy cherry salad during a dinner in her home. The world is small and moves in circles. What the profile of Emily didn’t mention is that she is the reason I started this newsletter. After interviewing Emily while I was a guest host of my friend Jennifer Leuzzi’s podcast Tech Bites (listen here), I decided to jump into the Substack pool. I enjoy swimming here, writing recipes weekly for you, but also thinking of the story of, no the importance of food in new ways. Thanks for jumping in, too. —Mitchell
I’m halfway through my second week in the Middle East, the first spent in Dubai, UAE, with a detour for a couple of days to a resort in Oman, and now in Tel Aviv, Israel, for work. There is an incredible diversity of food in the region and also many dishes that are consistent from place to place. One thing that has struck me is the variety of pita I’ve encountered.
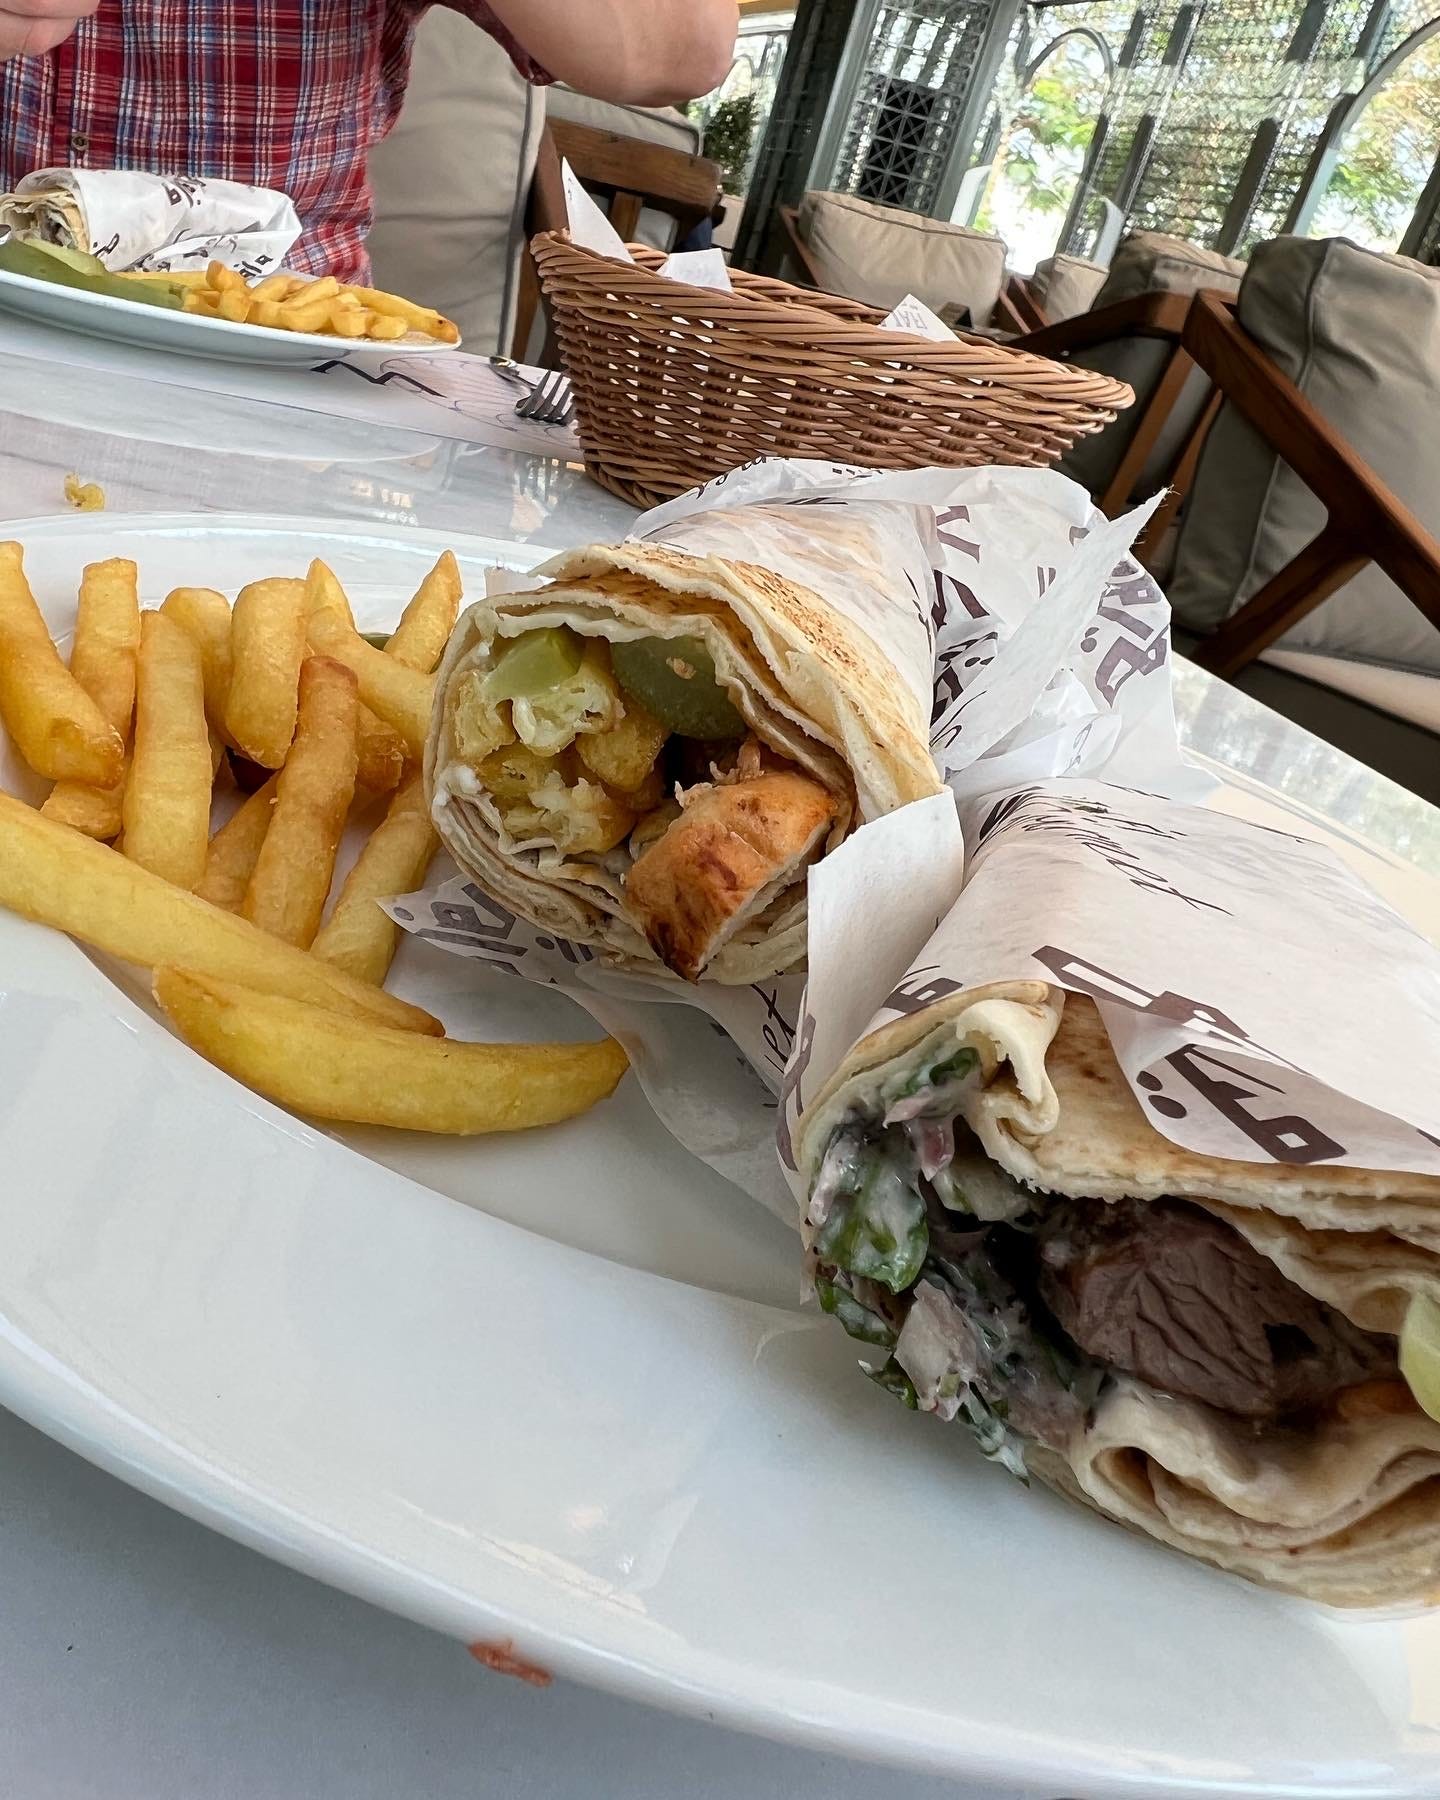
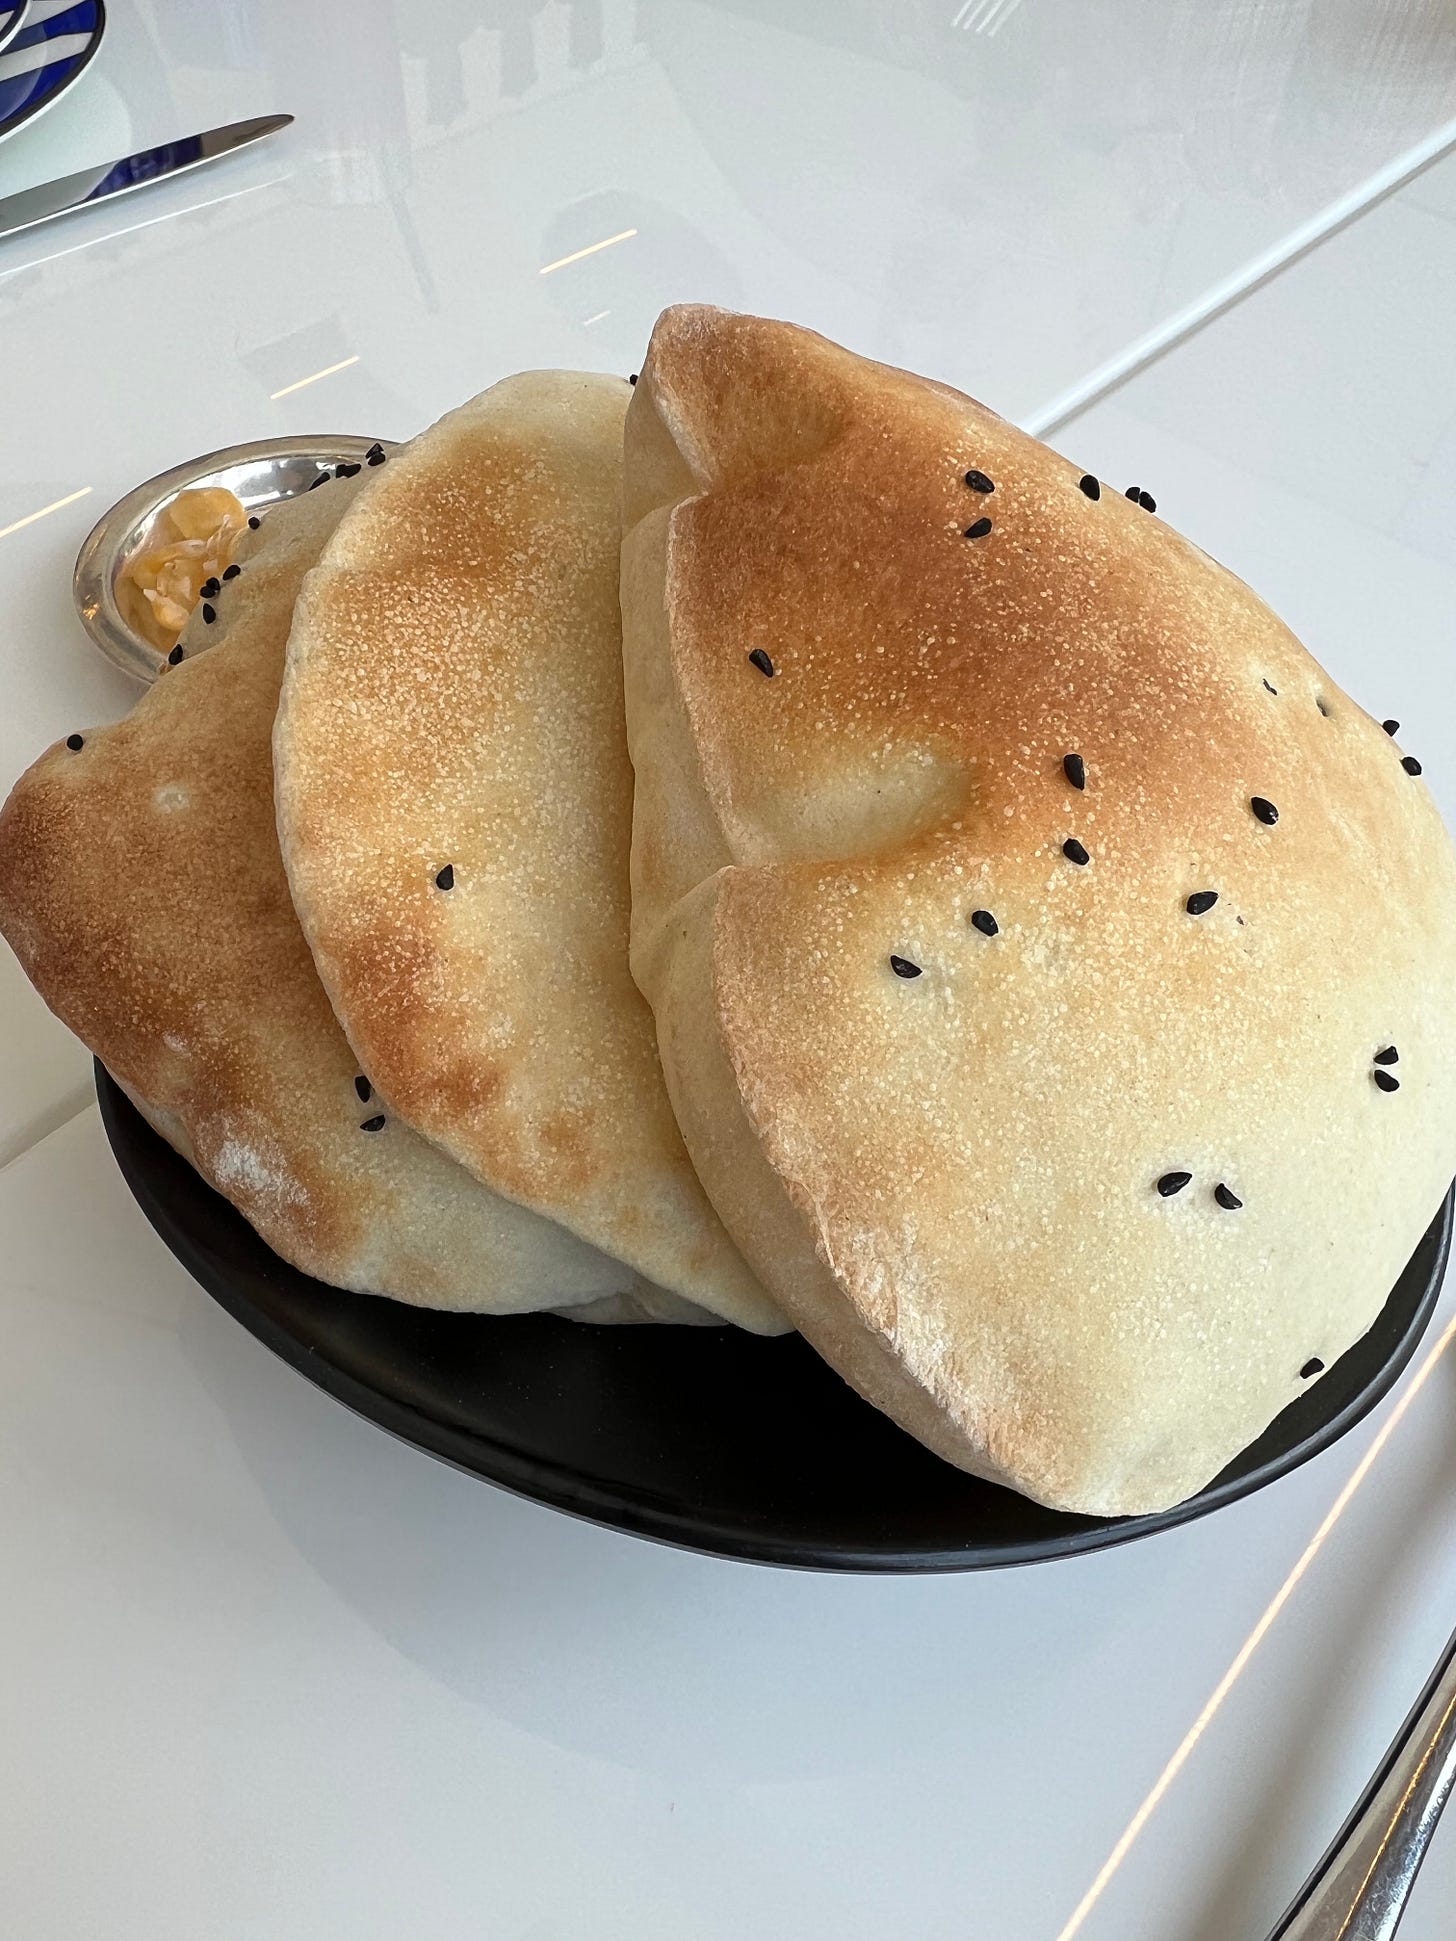
While pita primarily serves as the workhorse of the meze course, used to mop up spreads and salads until the appetizer plates are clean, I’ve been focusing my eating attention lately on pita sandwiches, which sometimes, but not always, take advantage of the pocket. In Dubai, we ate grilled chicken, lamb, and kebabs wrapped in large flat breads, which were sometimes manakeesh or saj, depending on whether they were baked in an oven or over an inverted metal dome called a saj—technically neither is pita. (I really am not an expert on flatbreads but I am an equal opportunity flatbread consumer.) Occasionally, the flatbreads would be slathered with za’atar paste or shanklish (funky fermented yogurt cheese, reminiscent of other dried labneh “cheeses,” such as kishk or jameed) before being rolled and sliced. The true pitas that come with mezze in the UAE are thinner and more papery there than those I’ve come across in Israel.
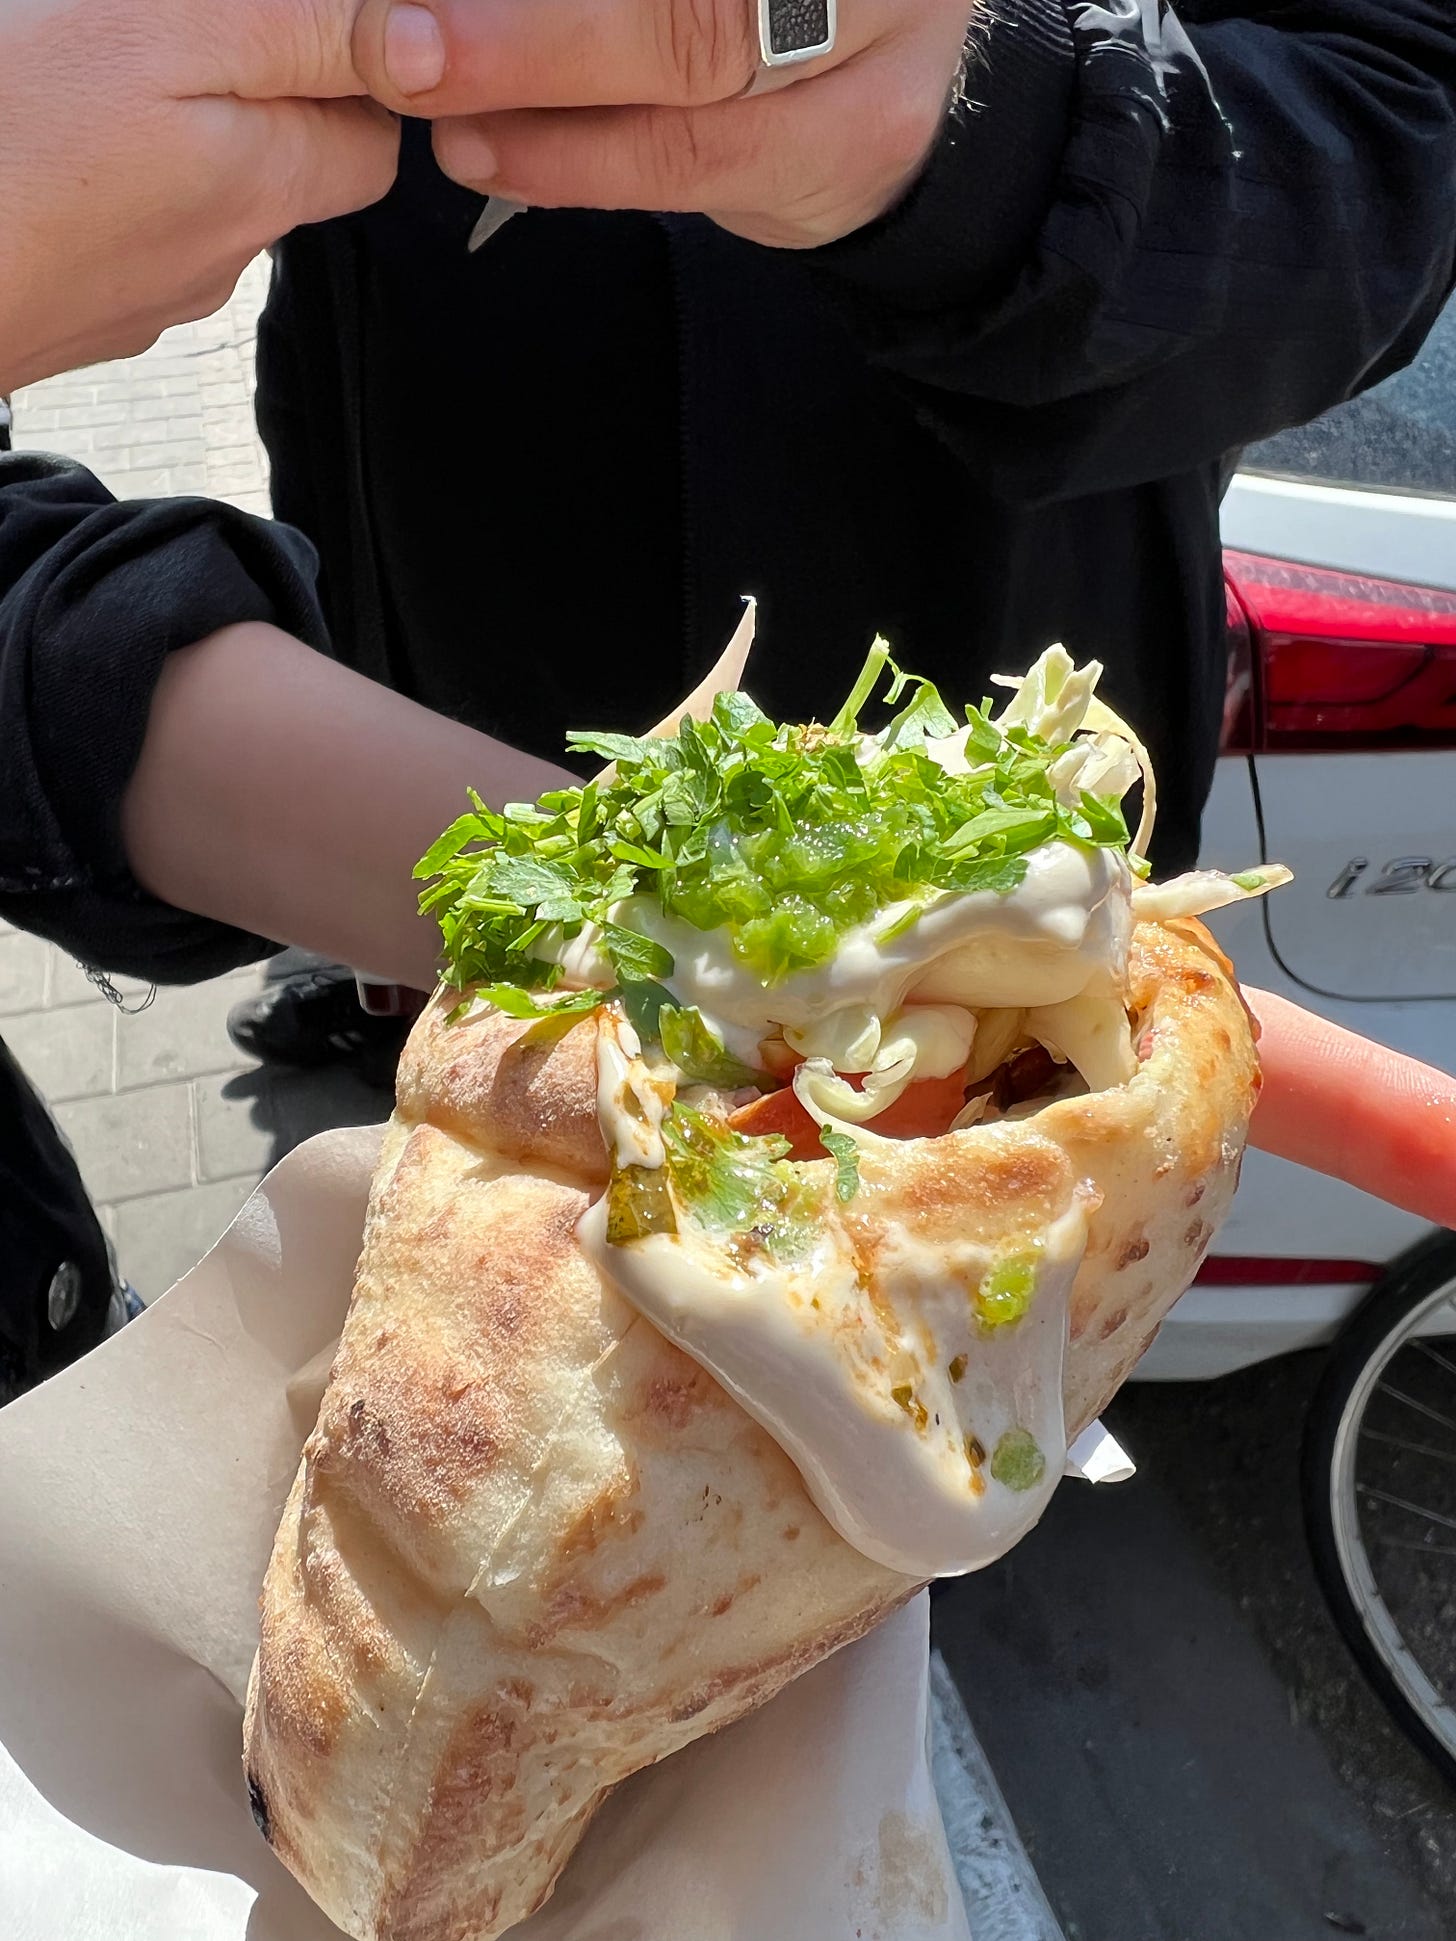
In Tel Aviv my first stop is usually at Jasmino for grilled meat, this time veal heart, stuffed into the pocket of a chewy pita along with grilled onions, hot peppers, salad, tahini, and amba (an Indo-Iraqi mango pickle). Their sandwiches are simple and heavenly. Pita sandwich are pervasive in the city, stuffed with falafel or sabich (fried eggplant, hummus, egg and pickles). Miznon has spread it’s everything-in-a-pita philosophy—think whole-roasted cauliflower, burnt mushrooms, potatoes—at outposts around the world. Other copycats abound.
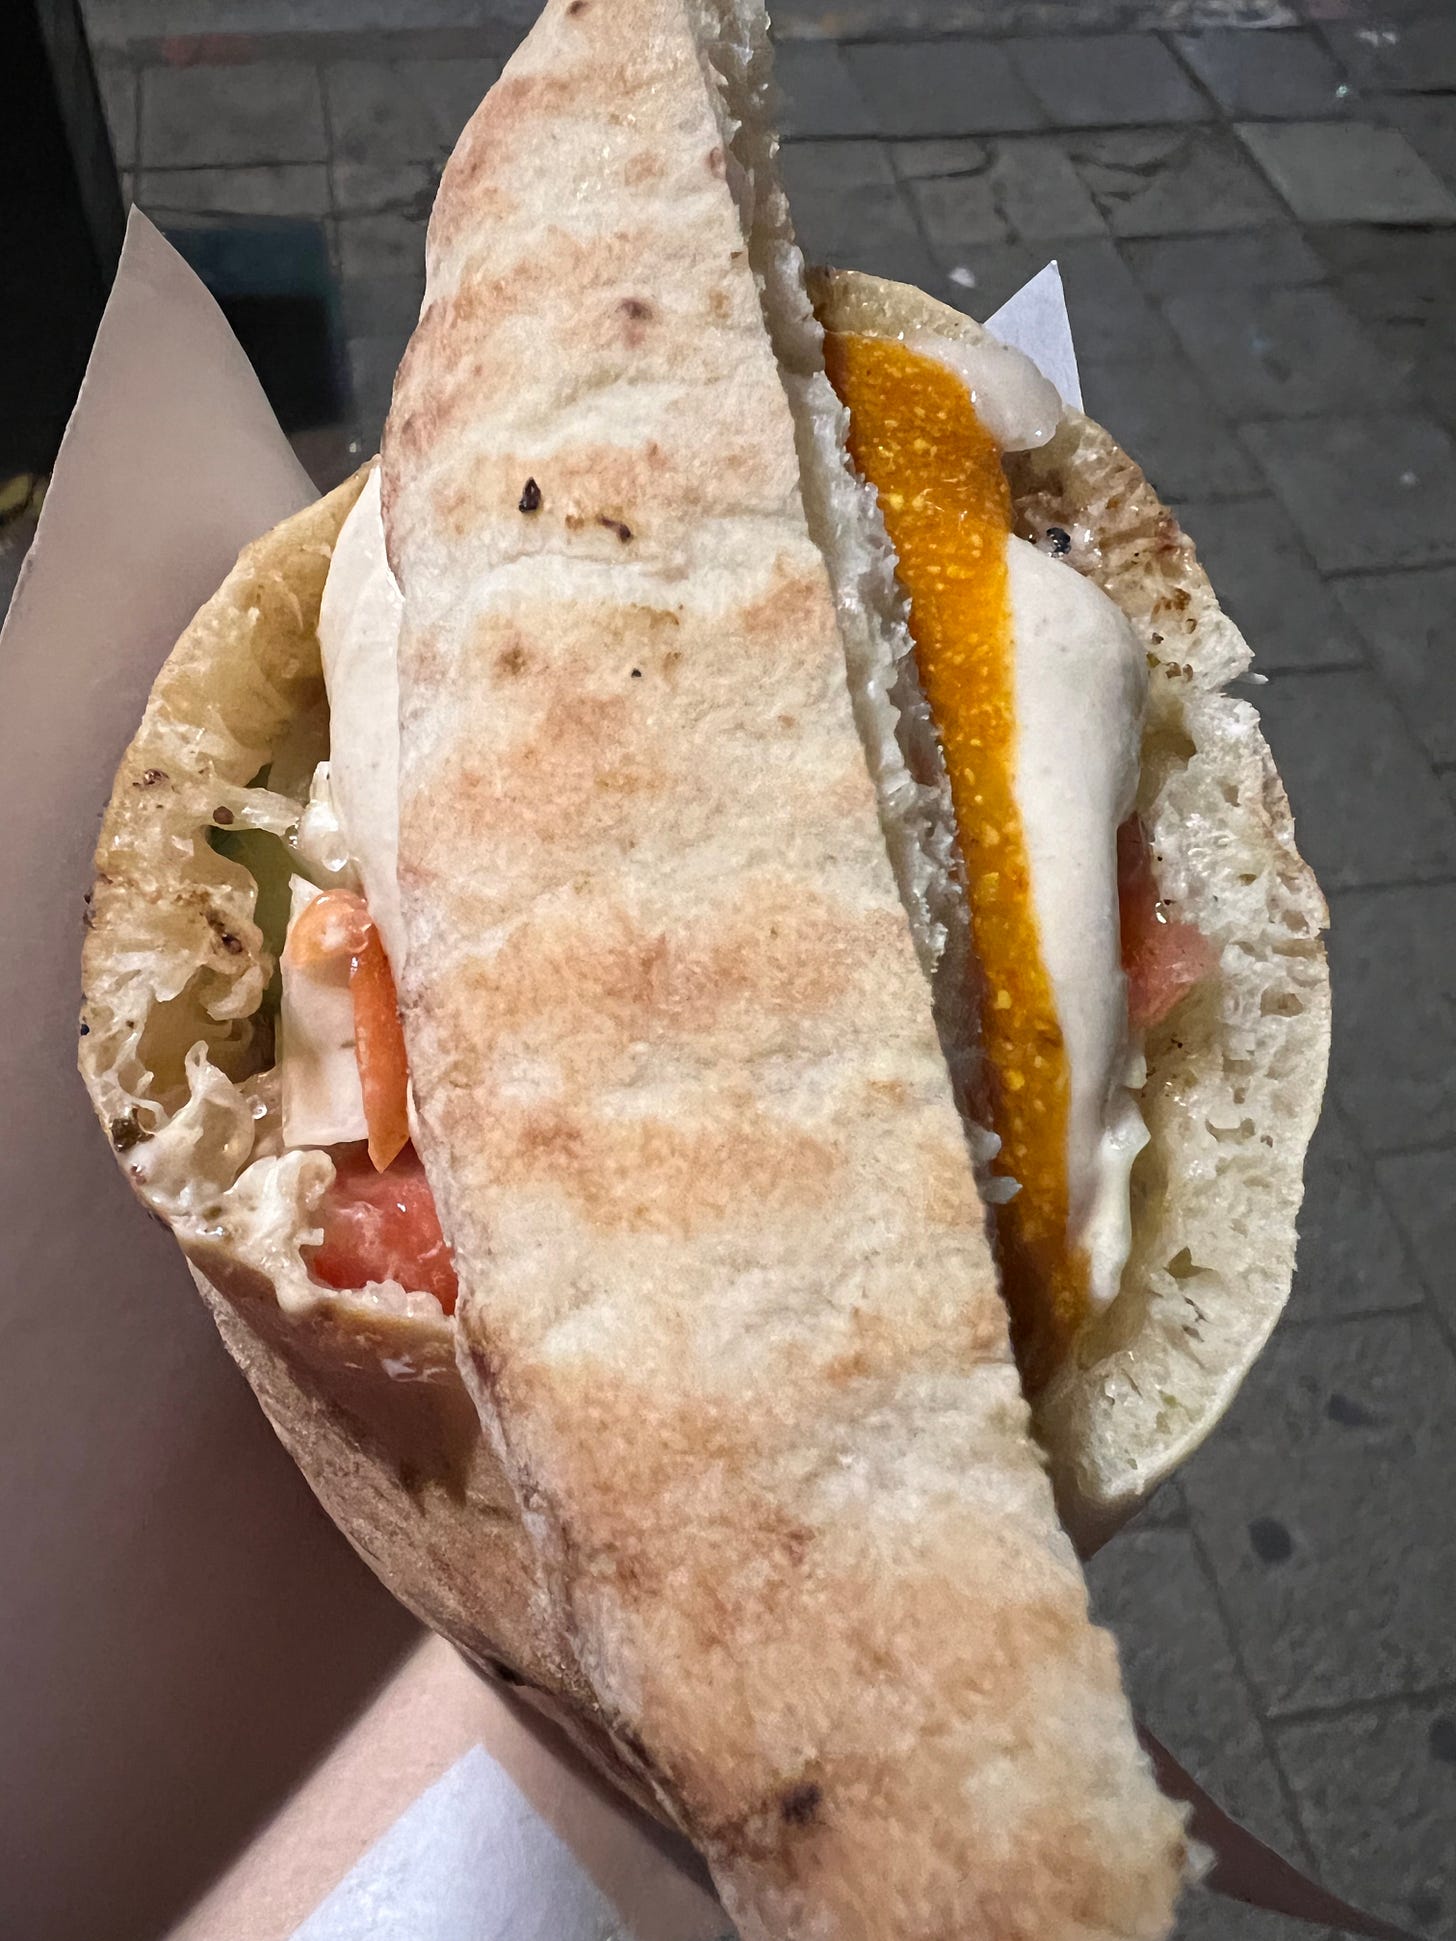
At home we think of pita as one thing: a pocket bread. And I don’t think many of us consider differences from one package to the next.
I may have become particularly attuned to these not-so-subtle pita differences because during the last couple of years I started baking my own pita with some regularity. I’ve made a few attempts over the years, as far back as when I was a teenager and my sister Carrie and I sat on the floor to watch the pita puff through the window in our oven. But about two years ago I came across a recipe by David Tanis in the New York Times cooking app that seemed relatively quick and easy and that has since proven to produce a consistent, flavorful pita. If I’m making Middle Eastern food for dinner, I can whip up a batch in about two hours (not active time). Now I realize that this pita is somewhat closer to the thinner, less substantive kind I saw most often in the UAE. In my constant pursuit to use up sourdough starter discard, I tinkered with the recipe, adding discard for flavor rather than lift. I purposely didn’t add any additional proofing time to activate the magical microorganisms therein. I’ve also adapted the recipe for poolish, another way to enhance the flavor of the final bread.
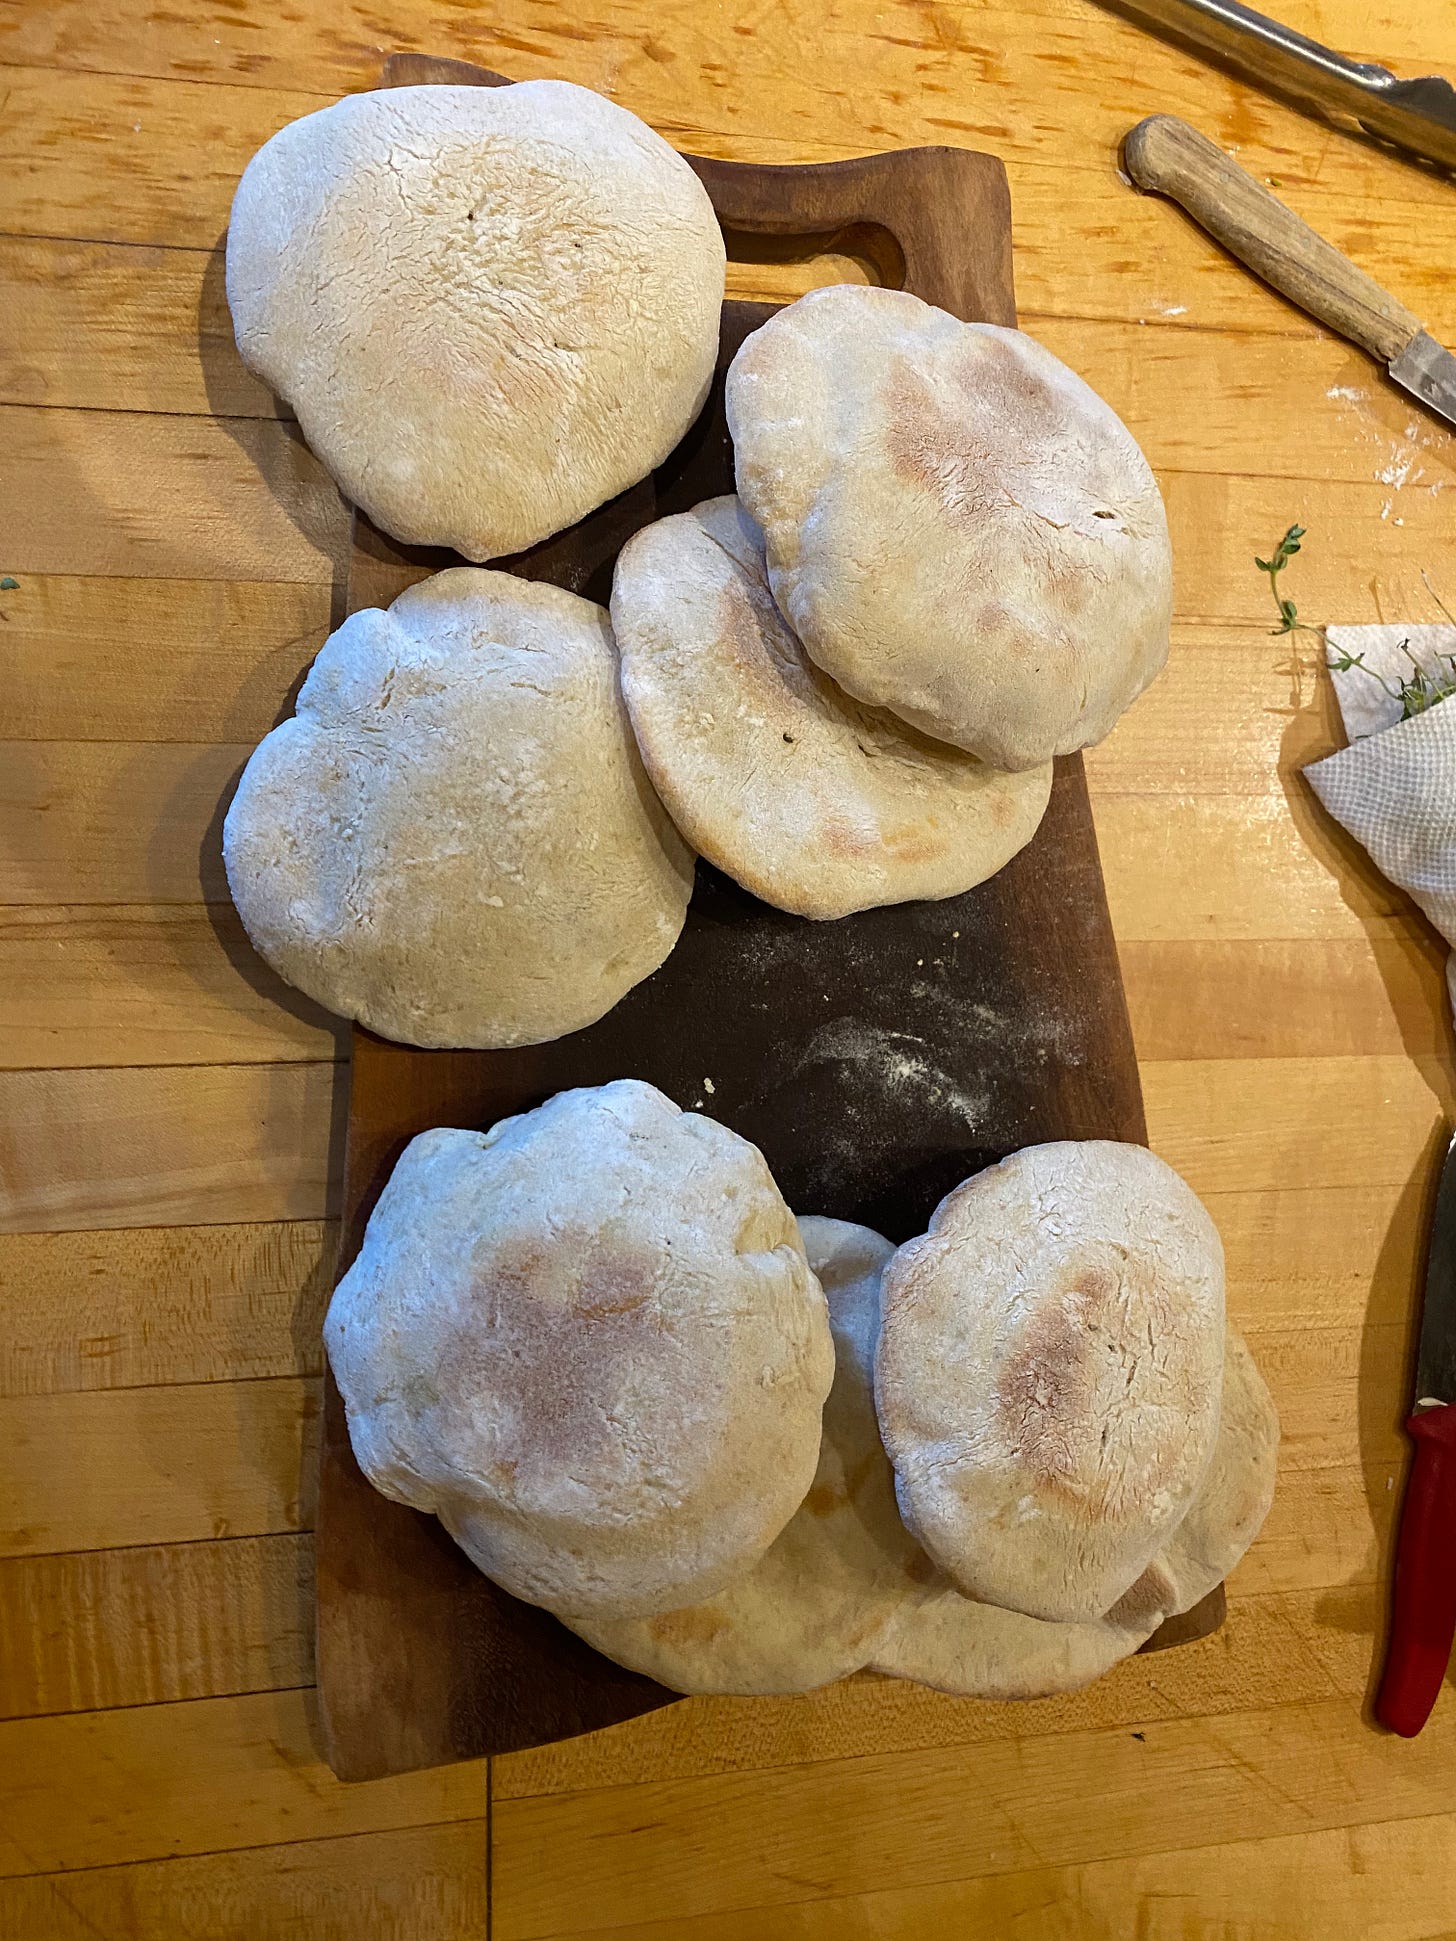
A few months ago I came across a slightly more complicated, somewhat unusual recipe for pita in the beautiful new Bavel cookbook, that also had a sourdough component, which called for a larger proportion of whole wheat flour and a significant amount of egg white. The recipe produced a puffier, chewier pita than Tanis’s recipe. I now consider this pita to be more like the Israeli pitas I’ve enjoyed. One thing I like about this recipe is you need to make the dough a day or two in advance. This improves flavor, but it also improves convenience because you can just roll it out and bake it when you are ready to eat. With a little forethought, this makes fresh, chewy pita à la minute possible.
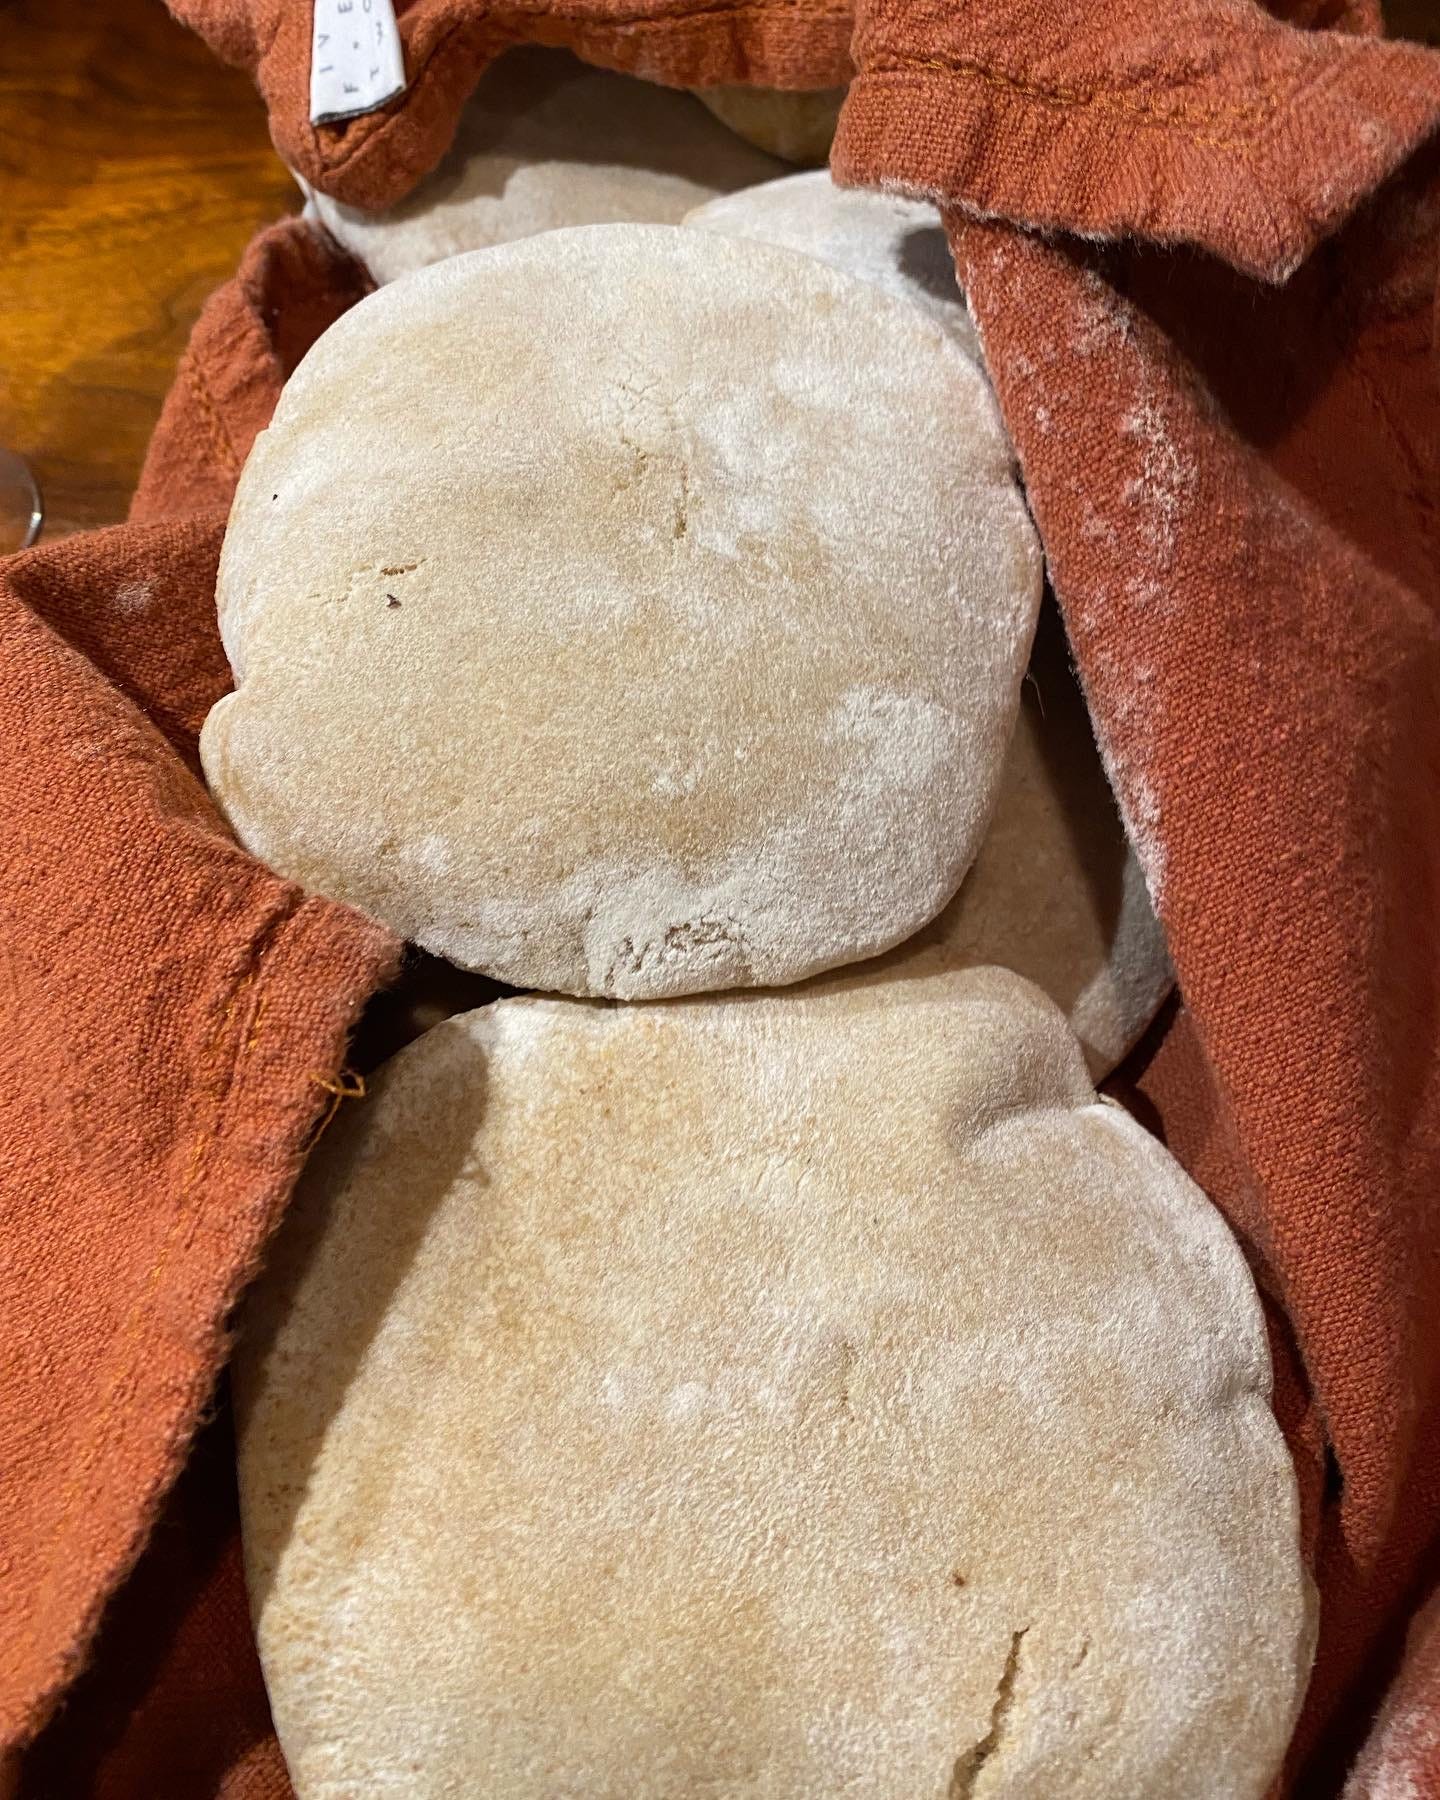
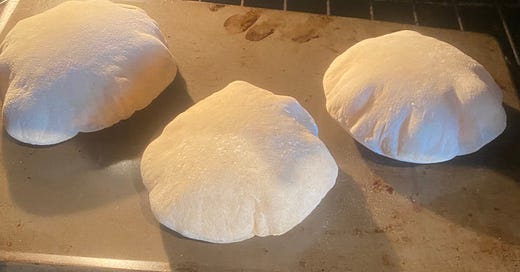
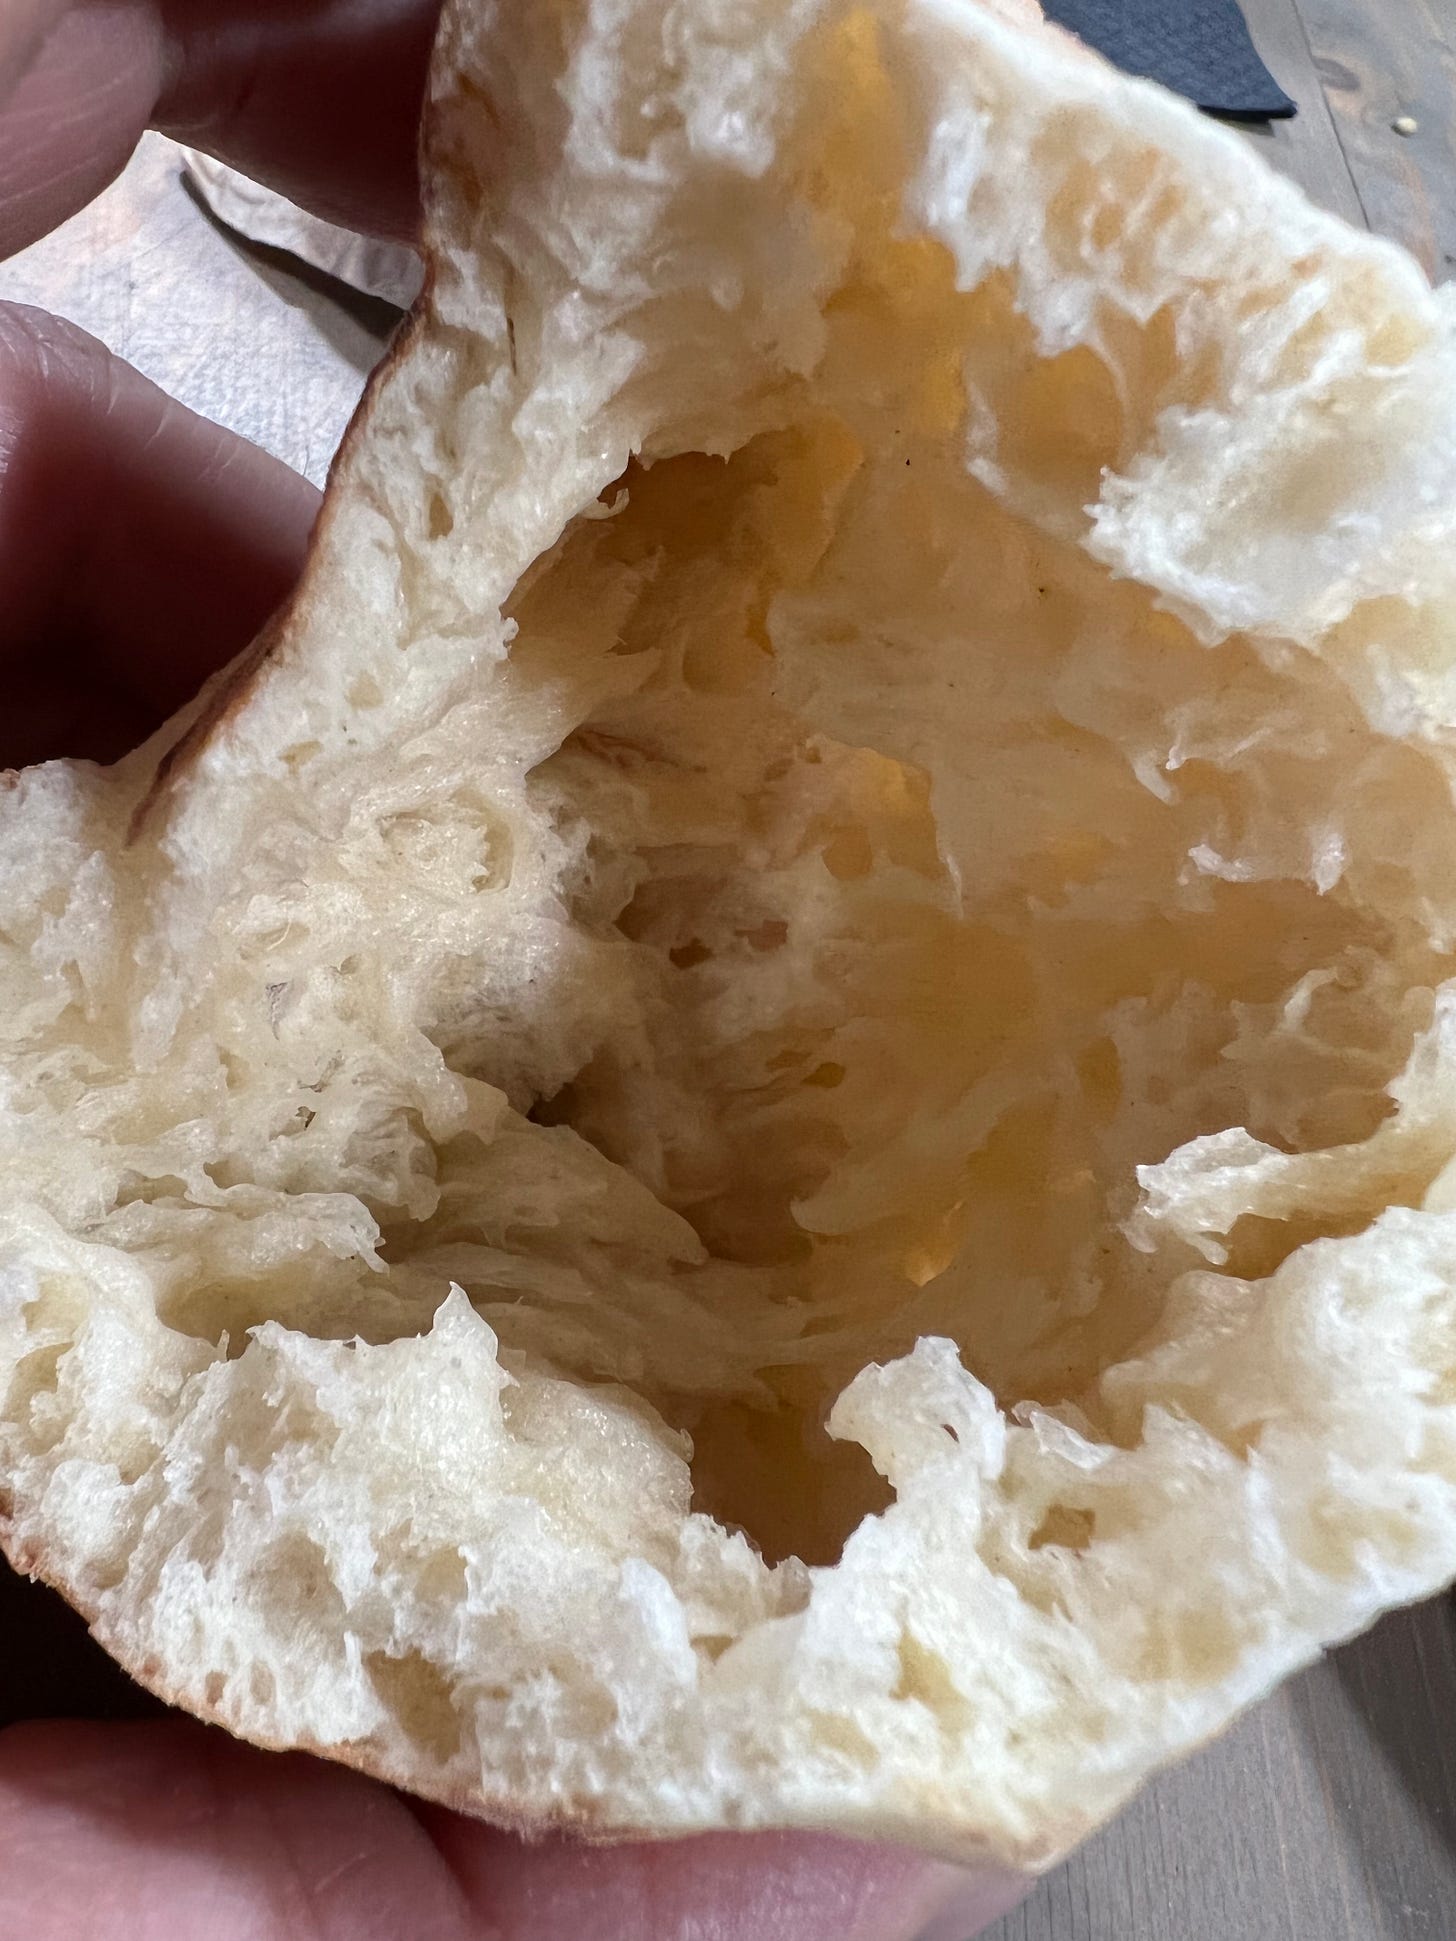
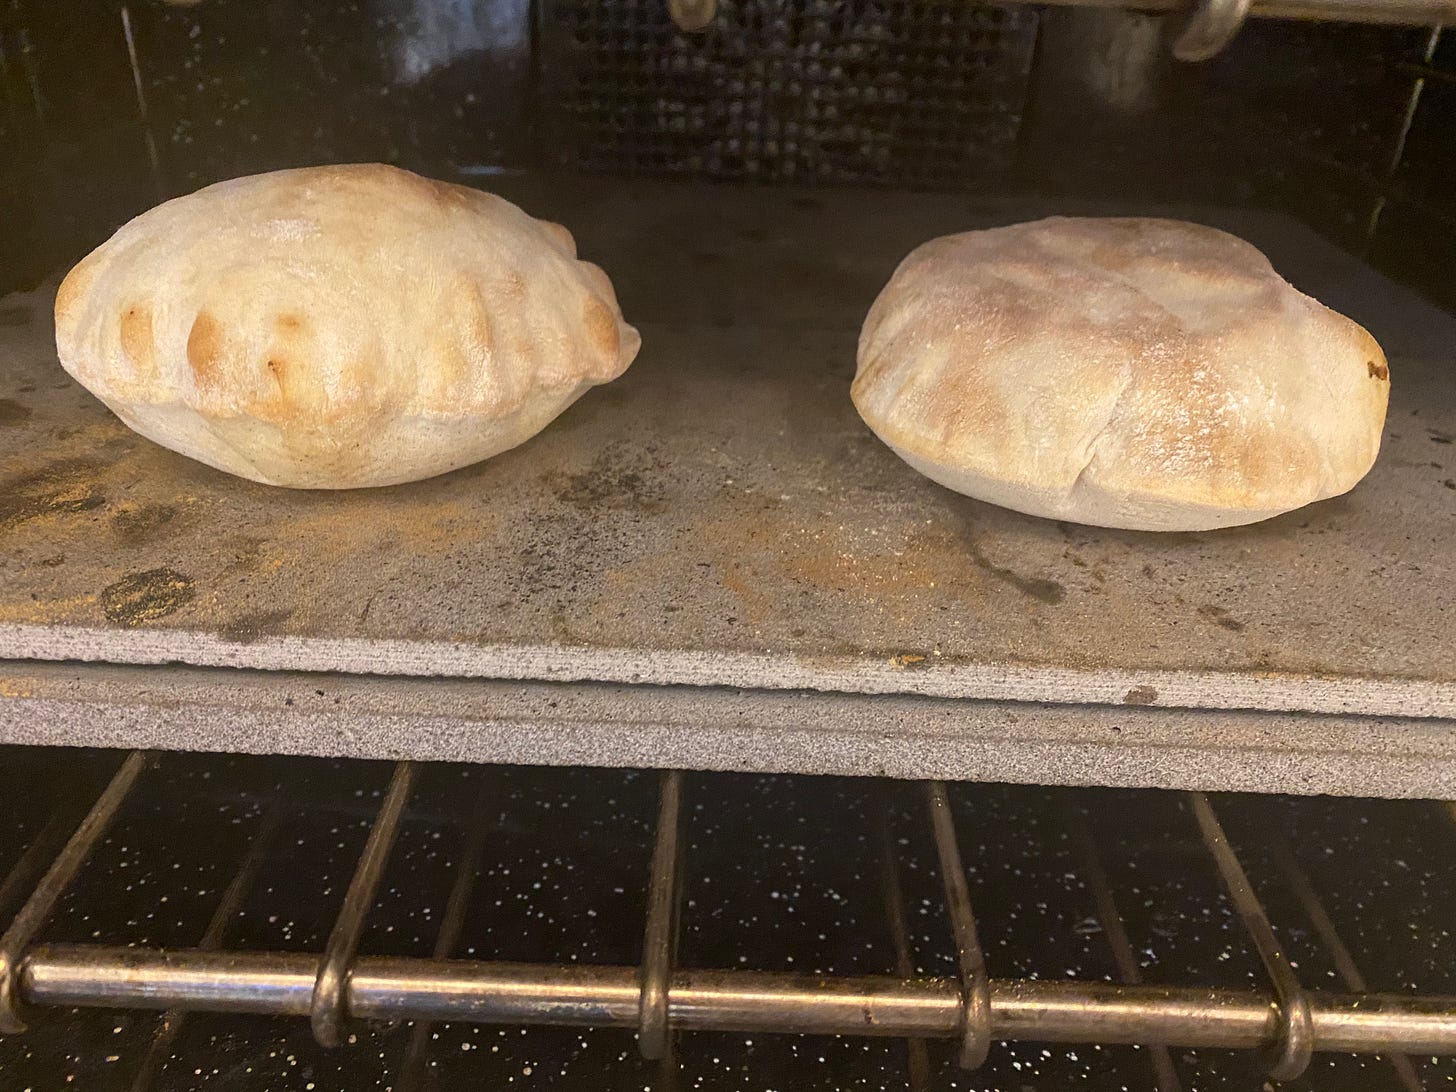
To the surprise of many, you do nothing special to “insert” a pocket into a pita. If you handle the dough properly, that is, balling it, letting it rest, rolling it out without going over the edges, and baking it on a hot stone or metal tray, the pitas puff like pillows. After making dozens and dozens of pita, each puff is still magic to me. Some 40 years after my first go at them, I will occasionally still sit on the floor to watch them rise with childish anticipation. And the flavor can’t be beat.
Regardless of which recipe you choose, you will be surprised how fun and delicious making homemade pita can be.
RECIPE: Pita with Flavor Boost from Sourdough Discard
(Makes 8 pitas)
I didn’t feel the need to share the original recipe for David Tanis’s pita here. You can find it online and it works perfectly as written. But since I tinkered with his recipe to incorporate sourdough and poolish, I thought I’d present you these versions.
200 g (about ¾ cup) warm water
2 teaspoons instant yeast
½ teaspoon sugar
70 g (about ¼ cup) sourdough discard, preferably whole grain (wheat or rye) at 100% hydration
1 teaspoon kosher salt
2 tablespoons olive oil
310 g (about 2 ½ cups) unbleached all-purposed flour
Combine the warm water, yeast, sugar, sourdough discard salt, olive oil, and about 250 g (2 cups) of the all-purpose flour to form a shaggy dough.
*Dust the work surface with some of the remaining flour, turn out onto the work surface, scraping the bowl, and knead for about about 3 minutes, until it forms a smooth dough. Cover and let sit for 10 minutes to rest. Then knead again for 2 minutes more, adding as little of the reserved flour as possible to keep the dough from sticking. As the gluten develops, it should become soft and smooth without sticking.
Place the dough in a clean mixing bowl, cover with plastic wrap and a clean dishtowel, and let sit in a warm place to double in size, about an hour or more. Meanwhile, set a baking stone or metal sheet in the oven and preheat to 475°F.
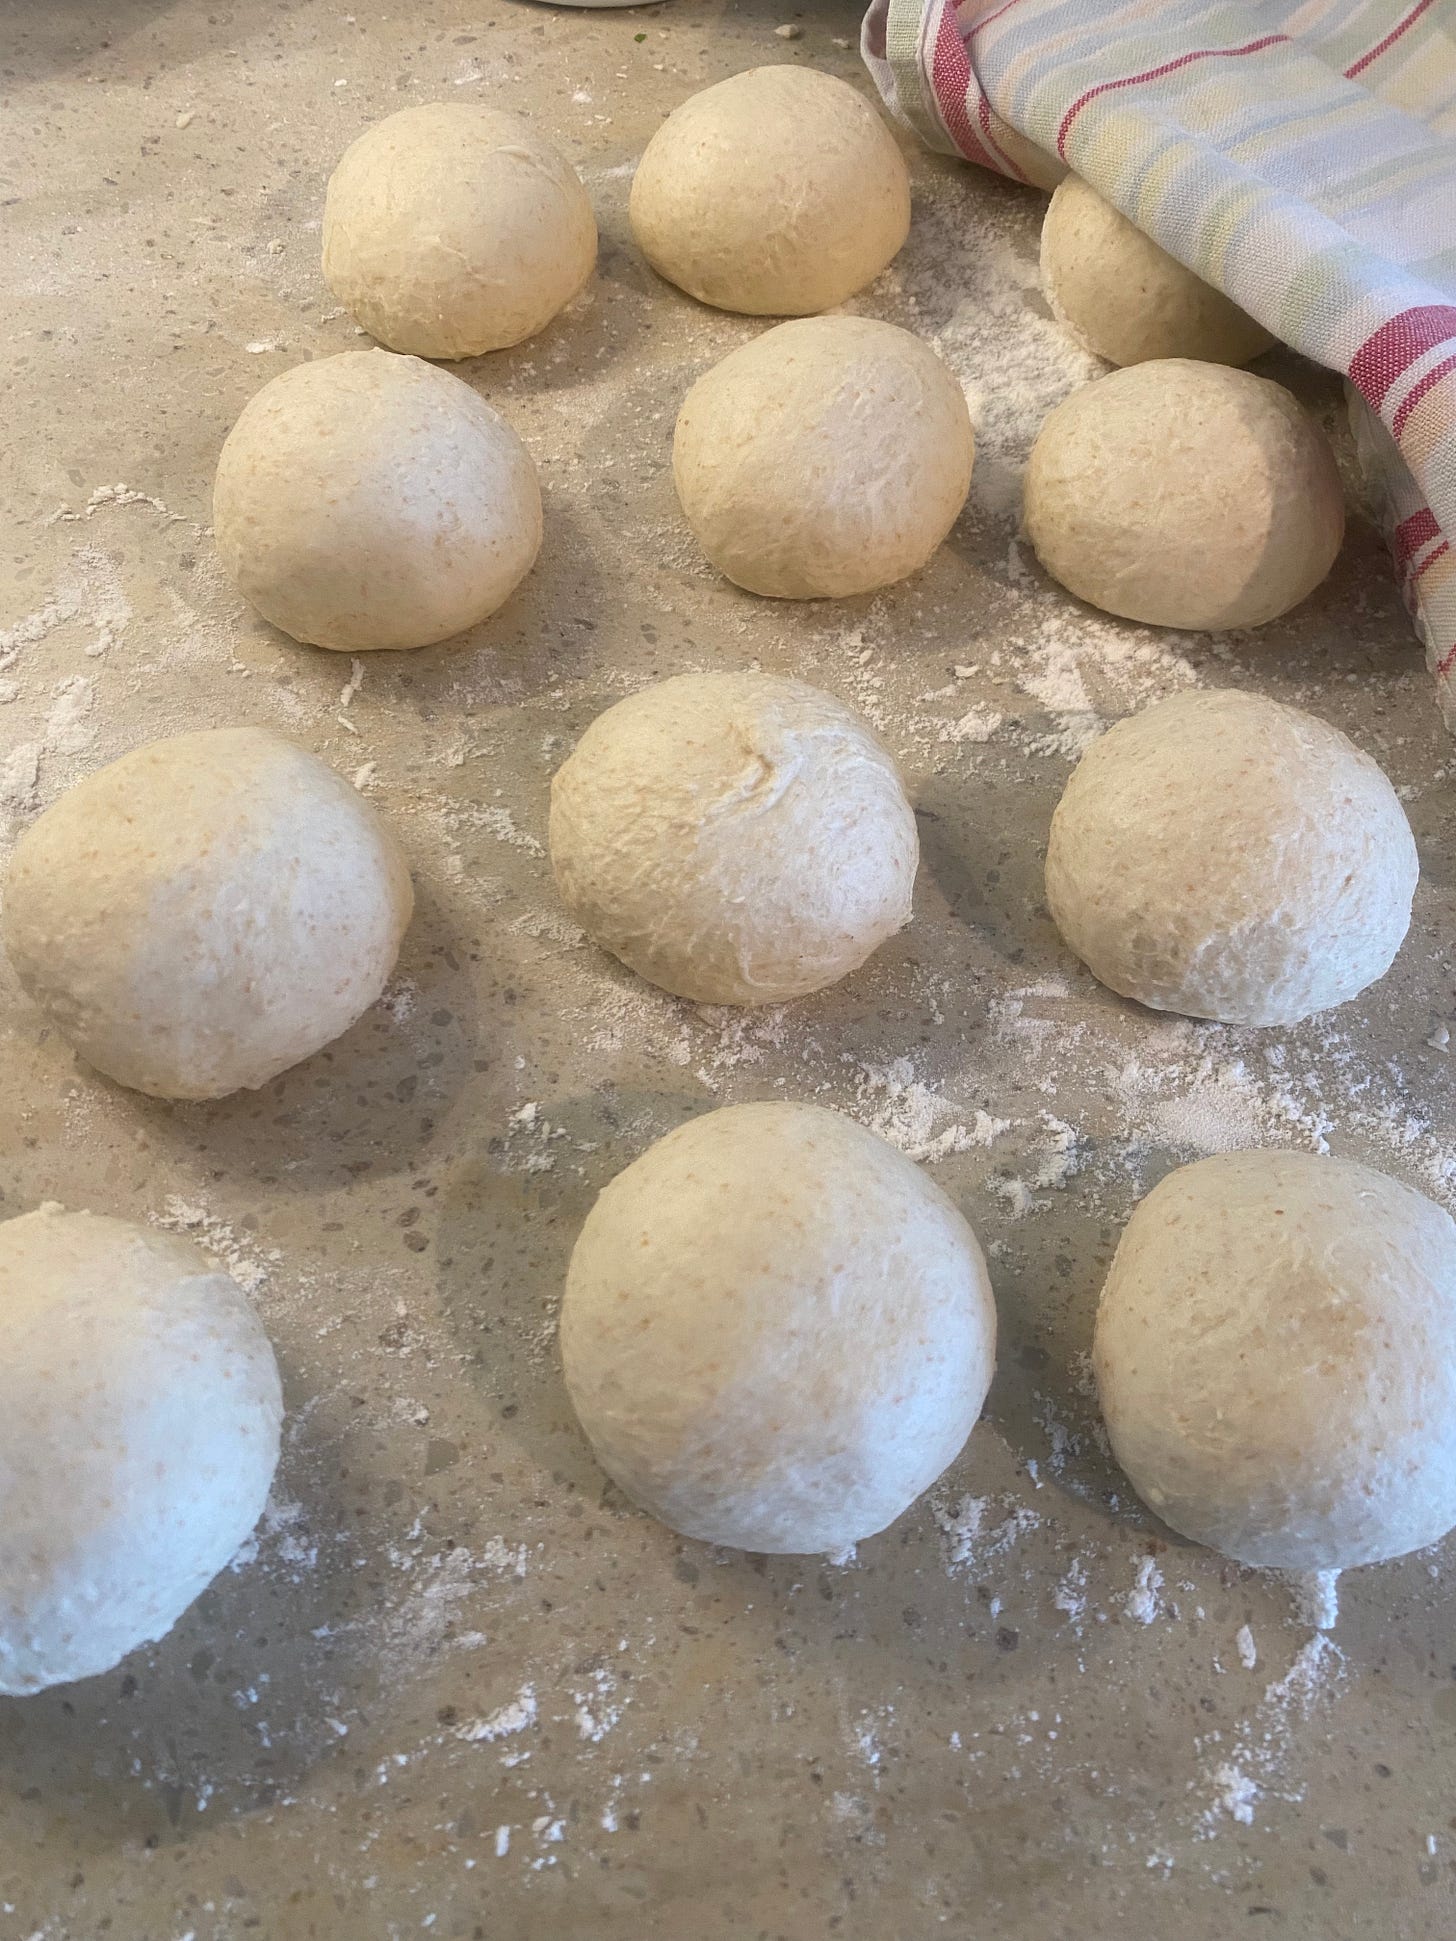
Once full proofed, punch down the dough and divide evenly into 8 pieces. Tuck each piece of dough underneath itself to form a ball and then roll it on your work surface using your cupped palm to make a tight ball (like this). Set aside on a floured part of the counter and cover with a damp towel. Repeat with the remaining balls and then let sit and rest, covered, for 10 minutes.
On a more generously floured work surface, press a ball with your fingertips to flatten and then roll out to a 6-inch circle. Try not to roll off the edges. And be especially careful not to bunch up or crease the dough, which will prevent proper puffing later. Continue to get the dough to an 8-inch circle. Set aside, covered with a cloth, and repeat until you have about 4 pitas rolled out. Using a small peel, cake lifter, or large spatula, or even your hands if you can be quick, lift the dough off the work surface and set it onto the preheated stone or sheet in the oven. Close the door quickly. After about 2 minutes the dough should puff like a pillow (see below). Let it cook another 3 seconds, then using tongs, turn over to cook the other side on the hot surface 1 minute more. Transfer the pita to a basket or other dish lined with a clean towel or napkin and cover to keep warm while you roll out and bake the remaining pitas. Be sure to serve while still warm.
RECIPE: Pita with Flavor Boost from Poolish
(Makes 8 pitas)
236 g (1 cup) water, divided
310 g (about 2 ½ cups) all-purpose flour, divided
1 teaspoon plus 1 pinch instant yeast
1 tsp yeast
35 g whole wheat flour
1 tsp salt
2 tbsp olive oil
The night before you intend to make the pita, combine 100 g of the water and 100 g of flour with a. pinch of yeast in a medium bowl. Mix well. Cover and let sit on the counter overnight to bubble and rise.
The next day, add 175 g of the remaining flour, the teaspoon of yeast, whole wheat flour, salt and olive oil and mix to form a shaggy dough. Continue following the method from the * in the recipe above.
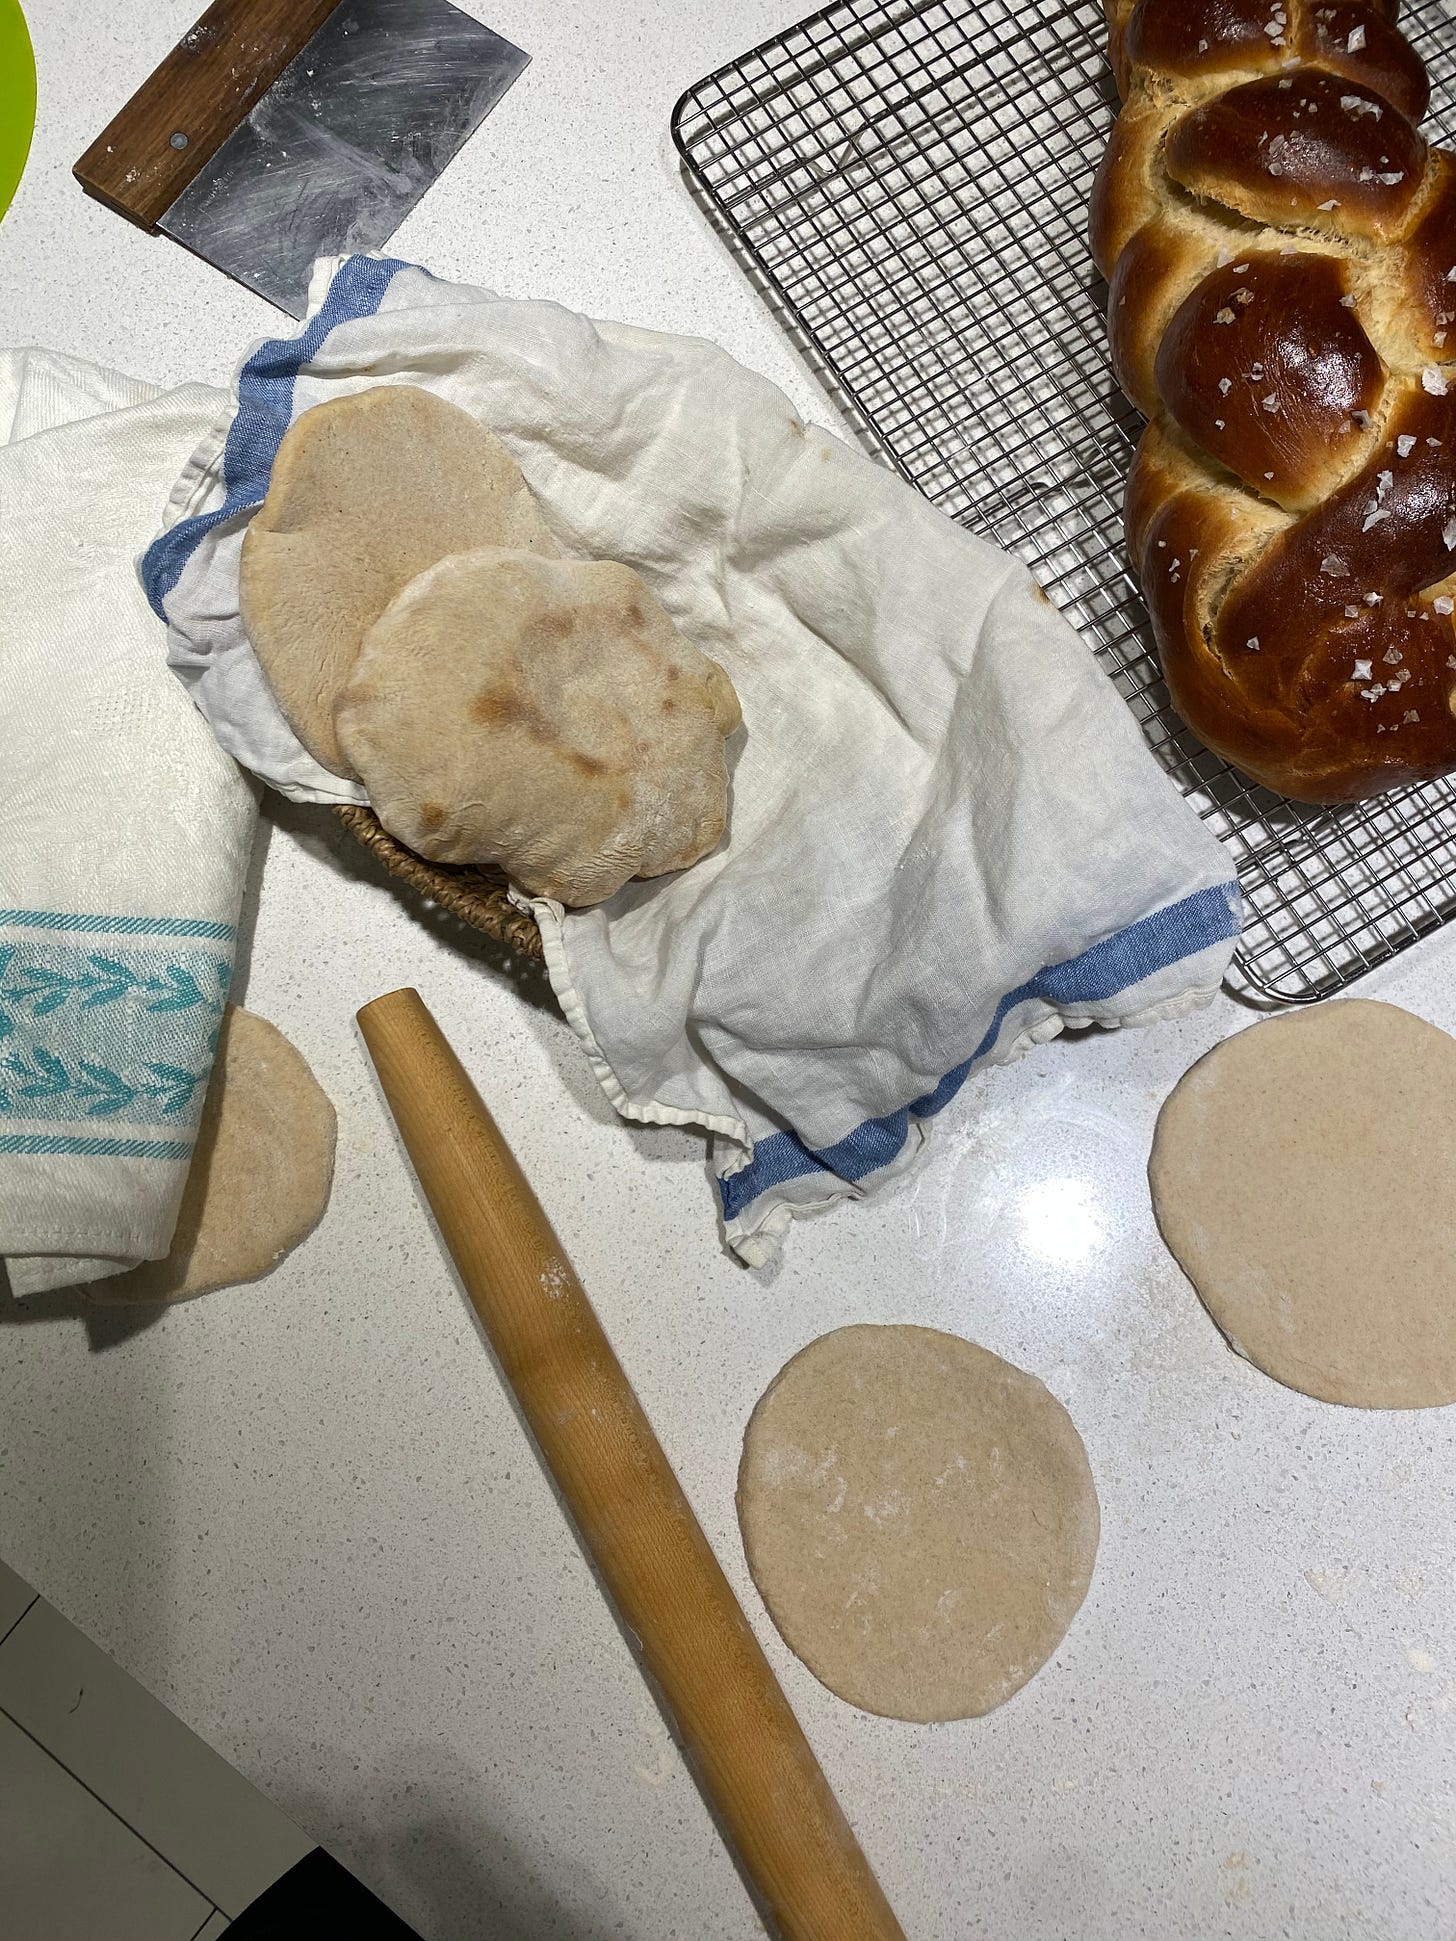
RECIPE: Bavel’s Flavorful, Chewy Whole-Wheat Pita
(Makes 18 pitas)
360 g (1 1/4 cup) room temperature water
1 teaspoon instant yeast
2 teaspoons sugar
170 g (about 6) egg whites
200 g (1 cup) sourdough starter, preferably whole grain (wheat or rye) at 100% hydration*
750 g (6½ cups) bread flour
150 g (1¼ cups ) whole-wheat flour
35 g (2 tablespoons plus 1 teaspoon) kosher salt
34 g (2 tablespoons) honey
85 g (¼ cup plus 2 tablespoons) olive oil
85 g (¼ cup plus 2 tablespoons) neutral vegetable oil, such as peanut, avocado, or canola
In a stand mixer fitted with the dough hook attachment, add the water, yeast, sugar, egg whites, sourdough starter, bread and whole-wheat flours, salt, and honey. Mix on medium-low for about 3 minutes, then add the olive oil, followed by the vegetable oil, both in a slow, steady stream. Mix for a total of 10 minutes. Cover the bowl with a kitchen towel or plastic wrap and let sit for 1 hour to proof. (Note that the volume of the dough will not change significantly.)
On a lightly floured surface, turn out the dough and separate into eighteen equal portions (100 g each). Shape the dough on the work surface by cupping your hand over one portion of dough and rolling in a counterclockwise motion, using the friction of the work surface to create a smooth round ball (like this). Place the dough portions 2 inches apart on a flour-dusted sheet pan. Cover with plastic wrap and refrigerate for 24 to 48 hours. (Note that the longer the dough rests the more flavor it will develop.)
Place a baking stone or metal sheet in the oven and preheat to 500°F or the oven's highest temperature setting. When you are ready to bake, remove the dough from the refrigerator 30 to 45 minutes before baking to allow it to come to room temperature. Generously dust your work surface with all-purpose flour. Then, using a bench scraper, gently lift the dough from the sheet pan to place it onto the work surface. Dust with flour on both sides. Using a rolling pin, roll up and back once, then continue rolling and turning it until the dough is between ⅛ and ¼ inch thick and about 6 inches wide. Be careful not to roll off the edges of the circle. Repeat with 6 or more rounds, dust with flour, cover with a towel and let rest.
Using a pizza peel, a cake lifter, large spatula or even your hands, slide 2 or 3 pitas onto the preheated pizza stone or sheet. Close the oven door and bake for 2 to 3 minutes, until the pitas puff up. With tongs, turn over and cook the other side for a minute. Remove the dough from the oven and let the bread and keep warm under a clean towel. Repeat with the remaining dough.
Note: The authors say you may substitute 100g (7 tablespoons)) water plus 100 g (¾ cup plus 3 tablespoons) bread flour for the sourdough starter in this recipe. I haven’t made them this way. I always have starter discard to use up.
You can now read Kitchen Sense in the new Substack app for iPhone.
With the app, you’ll have a dedicated Inbox for my Substack and any others you subscribe to. New posts will never get lost in your email filters, or stuck in spam. Longer posts will never cut-off by your email app. Comments and rich media will all work seamlessly. Overall, it’s a big upgrade to the reading experience.
The Substack app is currently available for iOS. If you don’t have an Apple device, you can join the Android waitlist here.
