Squashing Your Cooking Plans: How to Roast Squash and What To Do with It
Purée, Soup, Hummus, Gnocchi, Pie, and More...
Here’s Issue #19 in your inbox. Thank you for signing up, and double thanks to those who pay to subscribe. I hope you like it. I’ve been eating squash for the last few days. If you cook anything from or inspired by this newsletter and post it on social media, thanks in advance for tagging me @kitchensense. Thanks, also, for sharing this newsletter with anyone you know who loves to cook. —Mitchell
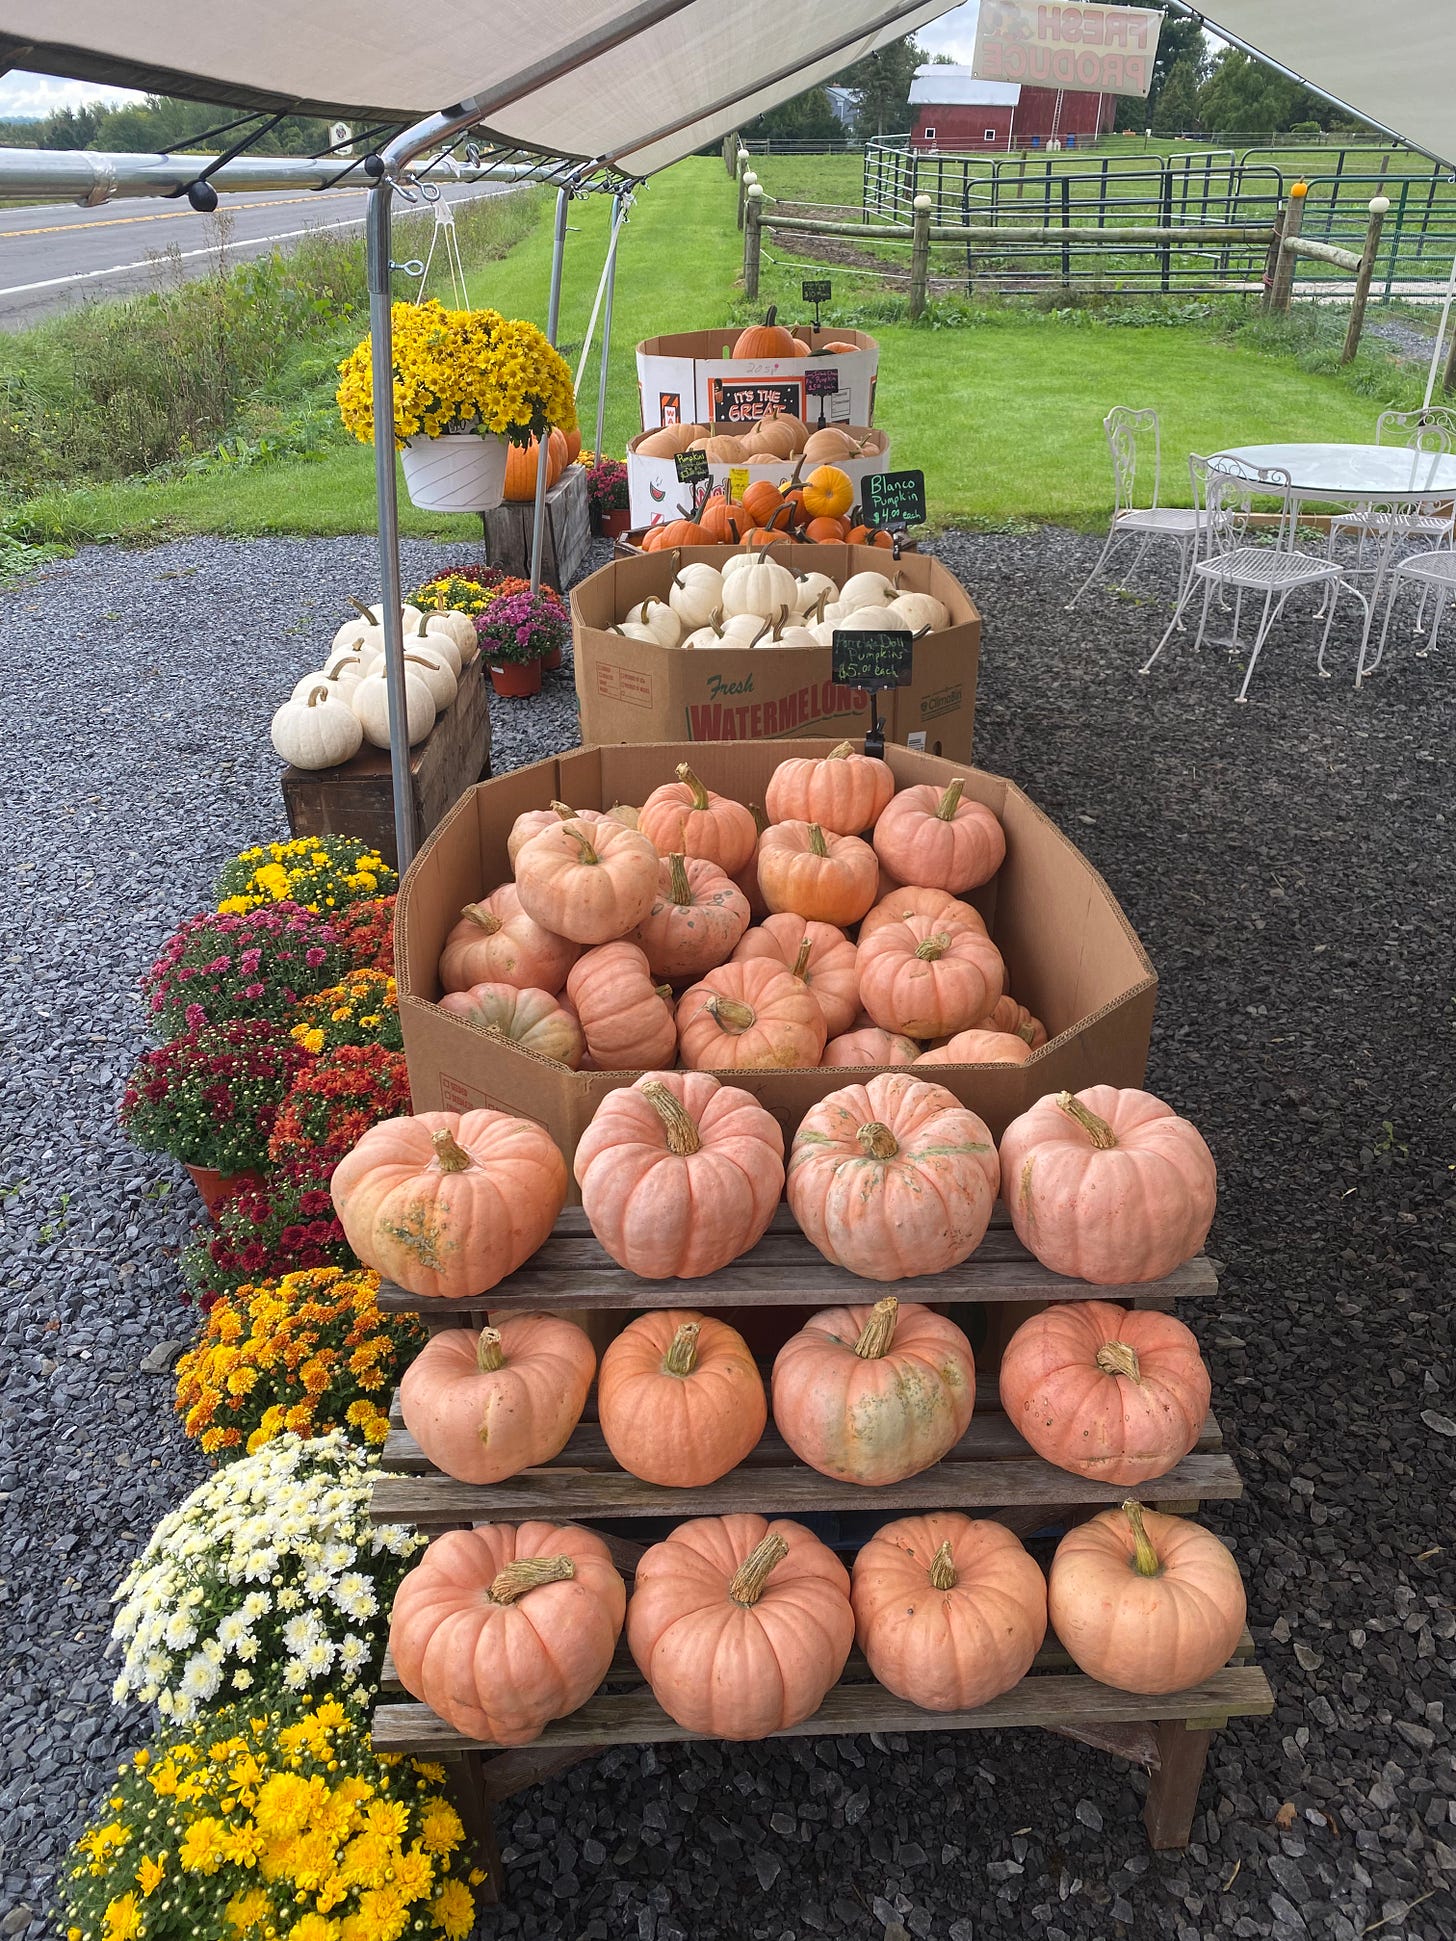
For the next many months it’s officially squash season—winter squash season, to be more precise. Although the temperatures in the northeast are still reaching up into the high 70s, farm stands are full up with these workhorses of the hibernal kitchen—delicata, kabocha, butternut, honeycup, babynut, and acorn squash, as well as pumpkins in many shapes, sizes, and colors. Although I’m not quite ready to give up summer for the cozy, warm feeling certain squash dishes convey, I’ve already begun my semi-weekly ritual of roasting a squash to have the dense, sweet, cooked flesh in my fridge.
As you know if you’ve been following along with Kitchen Sense, whether on Instagram or Substack, or even with my original cookbook of the same name, I like to have ingredients on hand in my fridge and in my cupboard that allow me to quickly pull together any number of dishes. Roasted squash is one of them. Roasting squash concentrates the flavor and sweetness of the flesh as the excess moisture evaporates. This makes for a rich, dense, very flavorful ingredient that I use in a variety of dishes.
With a tub full of roasted squash in the fridge, I’m only a few minutes away from a simple mash, squash soup or squash hummus. With just a little more effort I can have a tray of squash gnocchi to toss in browned butter with sage or even a “pumpkin” pie. When it comes to seasoning, you can veer toward savory or sweet. I think squash always benefits from a little nutmeg. I prefer not to add sugar, but a little maple syrup can punch the flavor if you like things sweet. I also like to combine squash with the flavors of Moroccan ras el hanout, Indian garam masala, curry powder, or Middle Eastern za’atar. Think of squash as an orange canvas. Be creative.
TECHNIQUE: Roasting Squash
I treat most of my winter squash the same way. I roast it first and then figure out what to do with it later. To roast, slice the squash in half and, using a sturdy tablespoon, remove the seeds and goop. Set the halves cut-side down on a parchment-lined baking tray with sides or roasting pan. Place in a hot oven (anywhere between 400°F. and 500°F. will work; I usually roast it in the oven I’m preheating to bake bread) and let the squash roast until the halves are soft and the edges are browned. The time depends on a number of factors, including the variety (the flesh of different squash has different densities), how thick the skin and the walls of flesh are (thicker needs more time), how long ago the squash was harvested (older squash have less moisture and take longer to cook), and the temperature of the oven. Small, thin-walled delicata squash can be roasted in 20 minutes in a hot oven. The dense butternut squash in the photos below took over an hour at 475°F.
To check if it is done, prick the thickest part of the squash with the point of a paring knife to see if it is soft. The juices that have run off into the pan while the squash cooked should be browned. And the squash should have a faint caramel smell. Remove from the oven and, using tongs, turn the squash halves over so they are skin side down to prevent the flesh from sticking to the parchment when it cools. Once cool enough to handle, use a large spoon (I happen to like an Italian gelato paddle) to scrape out the flesh, browned bits and all. store in a container in the fridge for up to two weeks. From the 3 ½ pound butternut sqash in the photo (which was grown by my friends Marion and Mal), I got 4 cups of flesh.

So, now you’ve got this roasted squash. What do you do with it?
Recipe: Mashed Squash
The simplest thing is to do with roasted squash, besides gnawing on the skin to get every last bit of flesh, is mash it with butter and seasoning. I like to flavor my mashed squash with warm spices, such as ras el hanout or garam masala. But just salt and pepper are delicious, too.
(Serves 3 or 4)
3 tablespoons butter
Pinch freshly grated nutmeg (optional)
1 teaspoon ras el hanout, garam masala, or other favorite spice mix (optional)
2 cups roasted squash flesh (see above)
1 to 2 tablespoons maple syrup (optional)
Salt and freshly ground black pepper
Melt the butter in a medium saucepan over medium heat. Add the nutmeg and/or spice mix, if using, and heat in the butter until you can begin to smell the aroma of the spices toasting. Add the squash flesh, maple syrup, if using, and season with a generous pinch of salt and pepper. Mash the flesh using a potato masher, large fork, or wooden spoon to combine. Keep cooking to heat the squash through. Taste and adjust the seasoning before serving.
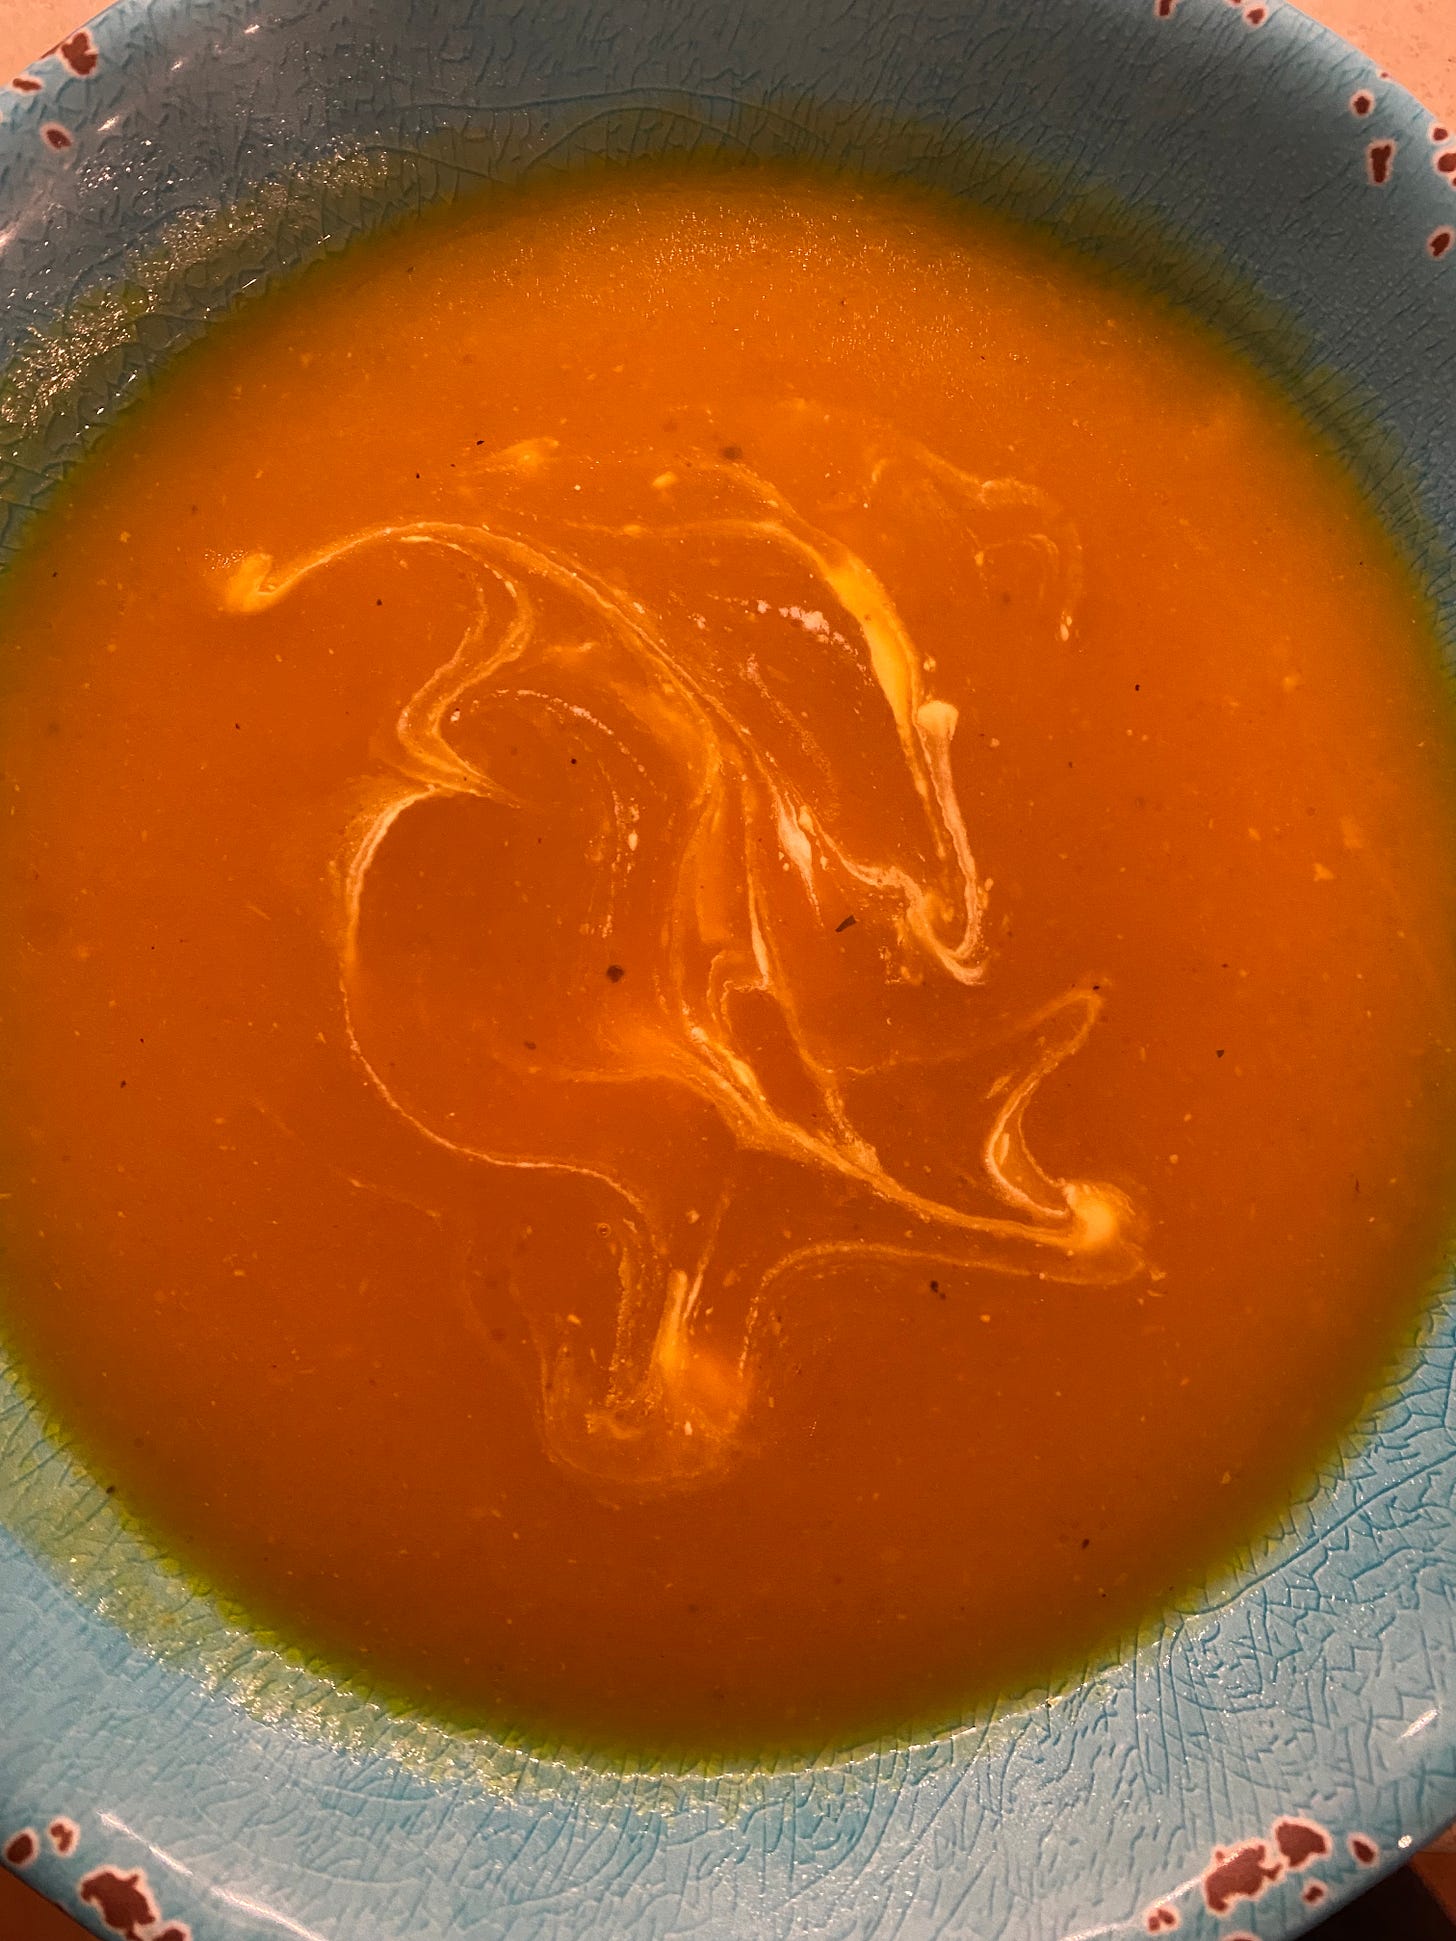
It’s pretty easy to turn the roasted squash into a soup, as well. Not much different from the mash, but thinned down with stock. Blend it until smooth, and, if you like, add a bit of cream to enrich it.
RECIPE: Roasted Squash Soup
(Serves 4)
1 tablespoon extra-virgin olive oil or butter
Pinch, freshly ground nutmeg, or a favorite spice mix, such as ras el hanout, garam masala, curry powder, or whatever you like (optional)
1 ½ cups roasted squash flesh (see technique above)
4 cups chicken, vegetable, or other stock, simmering
¼ cup heavy cream, sour cream, or plain full-fat yogurt, plus additional yogurt for garnish (optional)
Salt and freshly ground black pepper
Tabasco or other hot sauce
In a medium saucepan, heat the olive oil or butter. Add the nutmeg or spice mix, if using, and when you can smell the spice(s) toasting, add the squash. Add 2 cups of the simmering stock and, using an immersion blender, begin to blend until smooth. Keep adding more stock until you reach the desired consistency. Add the heavy cream, sour cream, or yogurt, if using, a generous pinch of salt, freshly ground black pepper and dash or two of Tabasco. Blend until smooth. Alternately, you can blend the soup in a counter-top blender, adding hot stock until you have the consistency you want. Bring the soup back up to a simmer, adjusting the consistency with more stock, if you’d like, and season to taste. Serve warm with a dollop of plain of yogurt for your guests to stir in.
It was in fact my desire to make the next recipe that set me off on this topic for my newsletter.
RECIPE: Roasted Squash Hummus
I love traditional hummus made from chickpeas, but I also like to use different beans and sometimes starchy vegetables instead to mix thigns up. Roasted squash hummus makes a regular appearance on our table. It’s a more colorful, lighter hummus that is equally delicious. I serve it garnished with za’atar, hot sauce, and extra tahini, if I have it. When I made this recipe yesterday, I almost ate a whole loaf of bread trying to wipe every last bit of it out of the food processor.
(Makes 2 1/4 cups)
2 cups roasted squash flesh
2 heaping tablespoons tahini, with some of its oil, if separated
1 small clove garlic, chopped
Juice of 1 small lemon
1 tablespoon extra-virgin olive oil
3 tablespoons water, vegetable stock, chick pea broth, or any mild liquid
½ teaspoon salt
½ teaspoon toasted, ground cumin
Freshly ground black pepper
Place all of the ingredients in the bowl of a food processor fitted with a metal blade. Pulse to purée the squash and combine with the other ingredients. Scrape down the sides of the bowl, re-cover, and turn on for a minute or two until the hummus is a light, smooth purée. Taste and adjust the seasoning to your taste with more salt, cumin, or lemon juice. Purée again for a minute. Transfer to a container with a tight fitting lid and store in the refrigerator for up to a week.
A Note from My Experience
As with all hummus, you can make this one by putting the ingredients together in a food processor and letting it whir, or you can make a creamy tahini sauce first—to do that I use tahini, garlic, lemon juice, water, salt, olive oil, and preserved lemon that I whip in a blender until light and smooth—and then add that to the squash. This latter technique makes an even lighter, creamier hummus. This works great for traditional chickpea hummus, as well.
And One More Roasted Squash Recipe
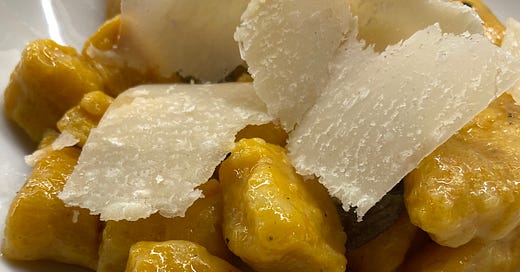
A little more effort, but still quite simple, here’s a recipe for squash gnocchi, which is one of my husband Nate’s favorite dishes. There are only a few ingredients. Success comes from mastering the touch. You want to add just enough flour and work the dough just enough that the gnocchi hold their shape, but they remain pillowy soft, not tough. If the first time doesn’t work very well, don’t despair. Try it again.
RECIPE: Squash Gnocchi in Sage Brown Butter
It’s best to make these gnocchi in advance and freeze them at least four hours before you cook them, but preferably overnight. Better yet, make them a few days in advance so you don’t have to bother when you are ready to eat. I’m providing amounts to make decent portions for up to 8 people, but if you double them you can make extra to store. I divide the finished gnocchi into little portion-sized bags and keep them in the freezer for up to six months. Then in minutes, dinner.
(Serves 6 to 8)
2 Russet or other starchy potatoes (about 12 ounces)
2 cups roasted squash flesh (see above)
3 large eggs
½ to 1 cup all-purpose flour, plus more for dusting the work surface
2 teaspoons kosher salt, plus more for the cooking water
Pinch freshly ground nutmeg
Freshly ground black pepper
½ cup unsalted butter
3 or 4 sprigs fresh sage, leaves detached from stems, but both retained
Freshly shaved Parmigiano Reggiano
Place the potatoes in a 400°F. oven and roast until totally cooked through and somewhat dry, about 40 minutes. (You can roast them with the squash if you are doing both at the same time.) When cool enough to handle, peel the potatoes and pass thorugh a ricer (like a giant garlic press) or food mill. Add the squash, eggs, ½ cup flour, salt, nutmeg, and black pepper. Mix well to make sure everything is incorporated evenly. Transfer to a lightly floured counter and knead gently to make a nice dough. If too soft to hold its shape, sprinkle with more of the flour and continue kneading. Better to add too little flour and then add more than to add too much. The total will depend on the moisture content of your ingredients. You don’t want the dough tough, but you also don’t want it mush. It needs hold its shape.
Generously sprinkle a sheet pan or roasting pan with flour. (Be sure the pan will fit in your freezer.)
Divide the dough into five or six portions and roll each out on a floured surface to a log about ¾ to 1 inch thick. Using a bench scraper or knife, cut the logs into equal pieces, about ½ inch wide or so. (I don’t bother rolling them off a fork or using a gnocchi board to make indentations for these, but you can. The dough will need to be a little stiffer to do so. Add a little more flour.) Use the bench scraper to pick up the gnocchi and place them on the floured pan. Toss gently to coat with flour and continue with the rest of the dough until all the gnocchi are shaped. Make sure the gnocchi are arranged in a single layer on the pan and set in the freezer for at least 4 hours until frozen solid. Overnight is even better.
At this point you can dust off some of the flour, transfer the gnocchi to a plastic bag, and store in the freezer for months. I recently found a two-portion bag of these gnocchi in my freezer from 9 months ago that I didn’t know I had. They were still delicious. A portion of about 12 to 14 is very generous, even though it doesn’t look like much; tossed in butter, these gnocchi are rich.
To cook, bring a large pot of generously salted water to a boil. In a large frying pan, melt the butter with the sage leaves and stems. When the butter and sage start to sizzle, reduce the heat to low and hold there until the gnocchi are ready. Periodically stir the sage around. When the water boils, dust off any excess flour and add the frozen gnocchi to the pot. The gnocchi will sink and then float when they are almost ready. Best to avoid stirring the pot or you may break up the gnocchi before they have firmed up and then you have something more like squash soup (this has happened to me more than once, see below). Once the water comes back up to a boil and the gnocchi start rising to the surface, reduce the heat to a simmer and cook for 3 minutes or so.
Now, raise the heat under the pan with the butter and sage to medium. With a wide spider or slotted spoon, carefully lift the gnocchi out of the water and transfer them into the frying pan. Don’t worry if there’s some cooking water that comes along. This is desirable. Once all of the gnocchi have been transferred, add a spoonful or two of the cooking water, the starch of which will bind with the melted butter to make a sauce. Season with black pepper. Transfer to warm serving plates and top with shavings of fresh Parmigiano. Serve immediately.
A Note from My Experience
I wasn’t kidding above. A couple of times I’ve made gnocchi and I was so worried that I would add too much flour that I didn’t add enough and they disintegrated in the cooking water. After reaching a spoon in and realizing that nothing was coming out, I ended up with a pot of squash water. I would be lying if I told you I didn’t later pour off some of the water and doctor up the squash sludge with additional squash purée, some seasoning, and serve it as a soup, anyway.
A Last Word…”Pumpkin” Pie
As for using roasted squash in pumpkin pie, just substitute an equal amount of the roasted squash flesh for canned pumpkin in your favorite recipe. I think you will be very happy with the results.


